

This content may include affiliate links, which means if you click on them, I may get a commission. The cool thing is, there’s no extra cost to you!
Wood Halloween Decor with Walnut Hollow Wood #JPHalloween
There's something about the look of distressed, rustic wood that can look spooky for Halloween, country for fall, and sophisticated for Thanksgiving. Today I am sharing 3 wood projects using Walnut Hollow's new Halloween wood shapes from Walnut Hollow. I received the product in this post for free from the sponsors Walnut Hollow and Clearsnap. This post contains affiliate links.

This year Walnut Hollow came out with some fabulous Halloween and Fall shapes to add to their already awesome line of Made in the USA Wood Craft Products. The wood takes paint, ink, and other media readily and it easy to sand, distressed, decoupage on – it's really a blank wood canvas! The techniques on these projects are similar but each one has a twist. I used wax as a resist distressing agent on 3 of the signs, embossing powder and ink on one of them, stencils and paint pens on others. I created a tutorial for each individual project so you can easily choose the one you want to make. Here's how I created each of these wood decor projects:
DIY Distressed Skull with a weathered wood effect
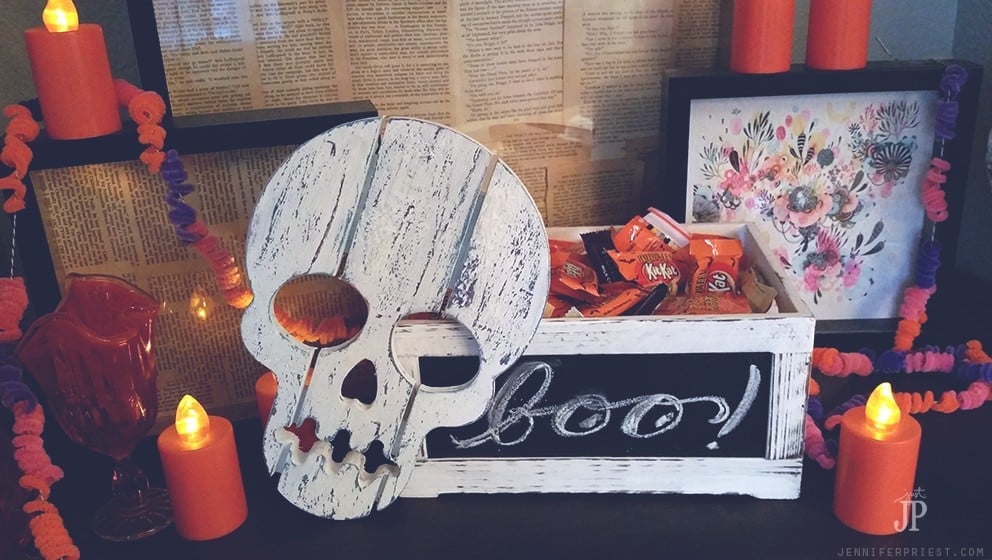
Distressed Skull Supplies:
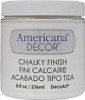
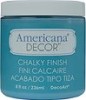
- Deco Art Americana Chalky Finish Paint, 8-Ounce, Everlasting DecoArt
- Deco Art Americana Chalky Finish Paint, 8-Ounce, Escape DecoArt
- DecoArt Americana Acrylic Paint, 2-Ounce, Purple DecoArt
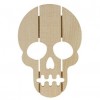
- Walnut Hollow Rustic Pine Skull, 7.5″ by 11″ Walnut Hollow
- 3M Wetordry Sandpaper, 9-Inch by 11-Inch, Assorted Grit, 5-Sheet
- 16oz. Household Wax with 4 Wax Cakes per Box
Wax is key to making this skull look like weathered wood. This look is really easy to get and doesn't take alot of sanding or elbow grease. I learned this technique of wax resist from Mark Montano when I attended PaintaPalooza at the Charity Wings Art Center.
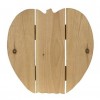
Gilded Pumpkin Sign

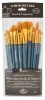
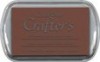
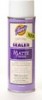
Gilded pumpkin supplies:
- Walnut Hollow Rustic Short Pumpkin, 14″ by 14″ Walnut Hollow
- Deco Art Americana Chalky Finish Paint, 8-Ounce, Everlasting DecoArt
- Royal Brush Manufacturing Royal and Langnickel Zip N' Close 12-Piece Brush Set in Vinyl Pouch
- Heat Gun
- ColorBox® Crafter's Full Size Inkpad, Bark CLEARSNAP
- Clearsnap Colorbox Embossing Powders, Gold Sparkle CLEARSNAP
- DecoArt Americana Acrylic Paint, 2-Ounce, Cadmium Orange DecoArt
- 3M Wetordry Sandpaper, 9-Inch by 11-Inch, Assorted Grit, 5-Sheet
- Aleene's Spray Acrylic Sealer Matte Finish 6oz Aleene's
- Stencil1 Damask Stencil, 11 x 11″ Stencil 1


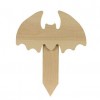
Halloween Bat two toned wood sign

Supplies to make the Bat Sign:
- Walnut Hollow Rough Hewn Pine Bat Sign, 11″ by 14″ Walnut Hollow
- DecoArt Americana Acrylic Paint, 2-Ounce, Purple DecoArt
- Deco Art Americana Chalky Finish Paint, 8-Ounce, Relic DecoArt
- 3M Wetordry Sandpaper, 9-Inch by 11-Inch, Assorted Grit, 5-Sheet
- Deco Art Americana Decor Flat Brush, 4-Inch DecoArt
- 16oz. Household Wax with 4 Wax Cakes per Box
 |
 |
 |
 |
 |
 |
I created these projects for my house at Halloween but you can use these shapes all year long. Here are some ideas:
- BAT – Make a Batman sign!
- SKULL – use it for Dia De Los Muertos or just as a cool sign
- Pumpkin – Paint it to look like an apple or other fruits. Check out this post from one of the Walnut Hollow Influencers: Fall Porch Decor

Thanks so much for stopping by today! Be sure to check out all of our 30 Days of Halloween videos and posts over on our YouTube channel.

A huge thank you to these 30 Days of Halloween sponsors for this post!
ilovetocreate
Kunin Group
Clearsnap
Thanks again for stopping by! See you again soon!

Like these projects? Check out these wood posts!
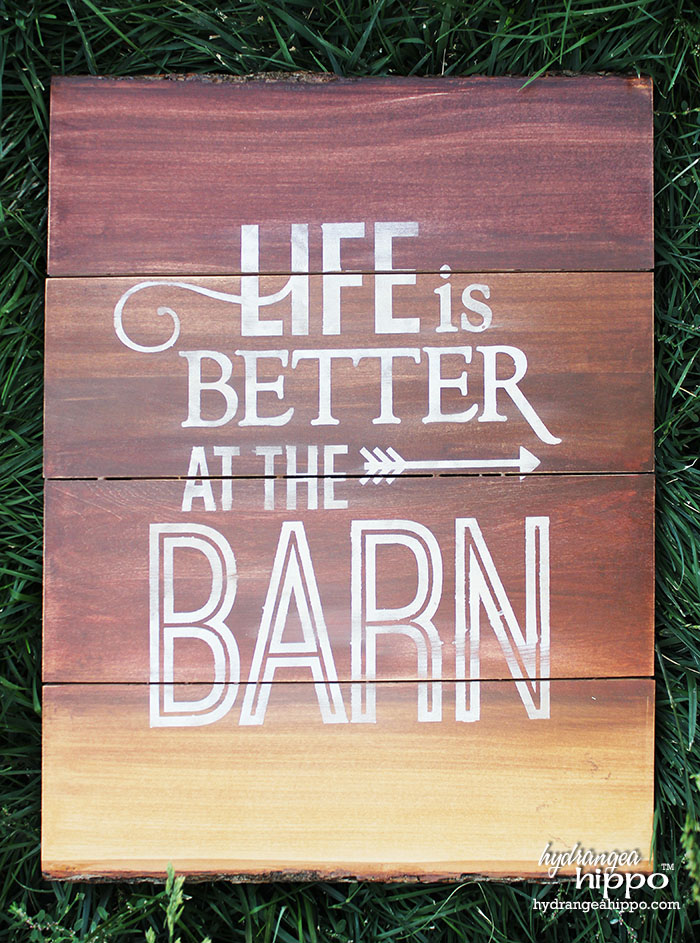
DIY Ombre Wood Stained Barn Sign

Mexican Garden Decor with Wood and Felt
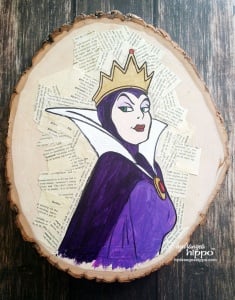
How to Paint a Disney Villain – on Wood
About the Author

Jennifer Priest is a 20+ year designer in the arts & crafts industry and home DIYer with a passion for creativity. An Army veteran raised on a ranch, from her experience, she shares smart DIY projects that save money and fun craft ideas that anyone can make. Besides blogging, Jennifer is a Master Practitioner and Trainer of NLP, Hypnosis, and MER, and coaches other online entrepreneurs on money mindset, business, and living an intentional life. When not blogging, Jennifer is having adventures in the wilderness, on road trips, playing with her cats, and making paleo food.


So cute and clever! You did such a great job! Will have to remember these techniques!
I love all the cutouts! They look amazing on your front porch. Skulls are my favorite, but I love the stenciling on the pumpkin.
CUTE!!! Love the pumpkin and the bat! Great info!
I love all of them but the skull is my favorite!!
Hi Jennifer,
I love your gilded pumpkin project – classy yet fun. Thank you for contributing it to my roundup post that includes lots of great DIY Halloween decorating projects like yours. I’m sure my readers will appreciate your tutorial. Much appreciation.