

This content may include affiliate links, which means if you click on them, I may get a commission. The cool thing is, there’s no extra cost to you!
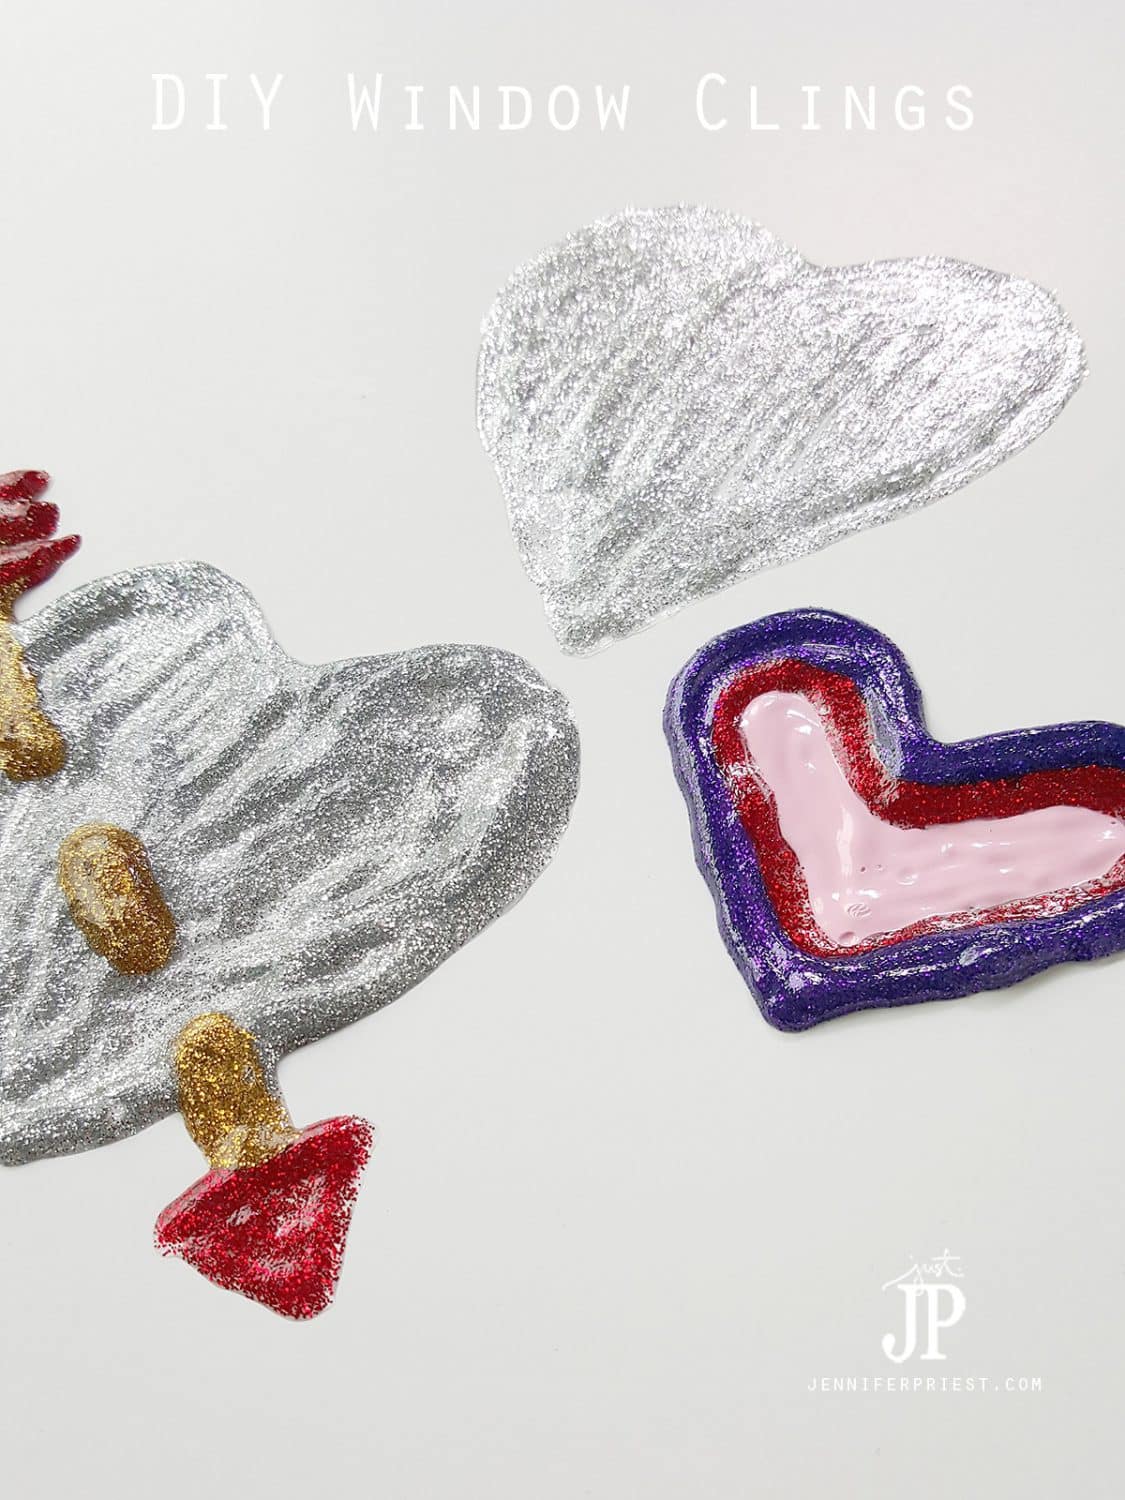
DIY Window Clings with Puffy Paint for Valentine’s Day
Make these easy DIY window clings with the kids for Valentine's Day! You can use these to decorate windows and mirrors in your house, office, or classroom with puffy paint. Write funny messages to your kids and family and put them on the bathroom mirror. That's what I would do.
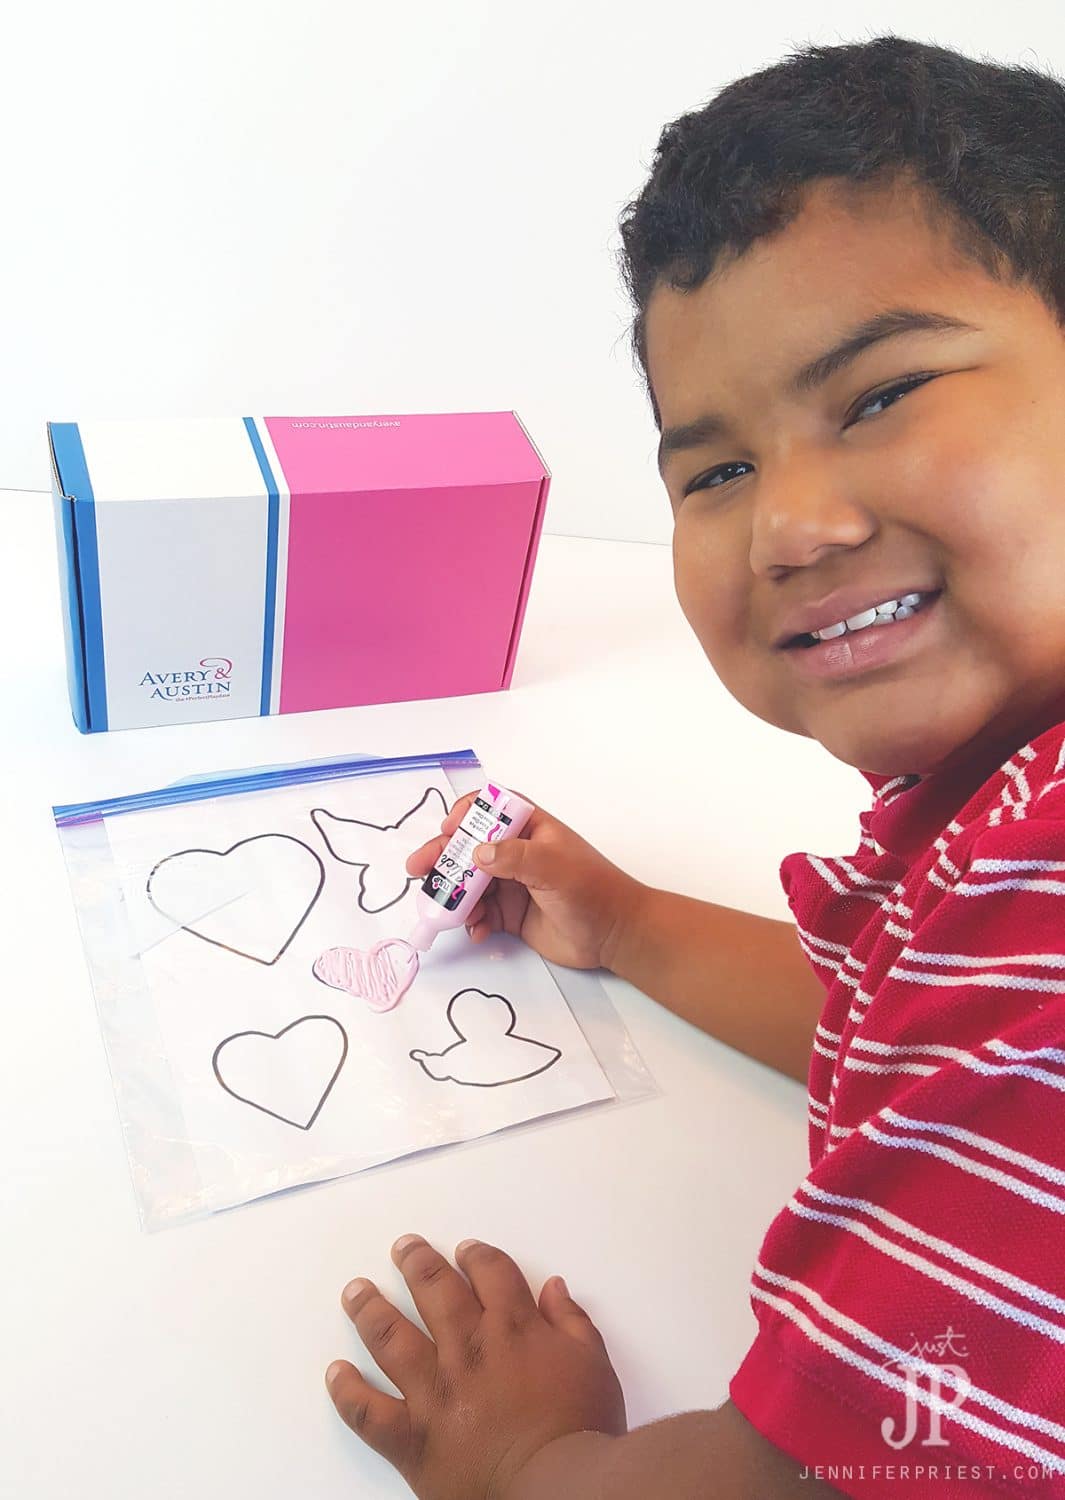
I got everything to make this project in a monthly kit box from Avery and Austin.

If you don't get the kit, you can gather the supplies from your local craft store or you can buy them online from the handy dandy links I put in this post. If you buy from these affiliate links, I will earn mountains of single pennies which will make me totally rich. So buy lots of puffy paint!
Here's what you'll need to make these fun DIY Valentine's Day Window Clings:
- Ziploc freezer bag, gallon size
- Template or Coloring Book Page
- Tulip Slick and Glitter Dimensional Fabric Paint


You can use coloring book pages or a pre-printed template to make these DIY window clings. Find an assortment of awesome free coloring book pages here: BEST FREE COLORING PAGES
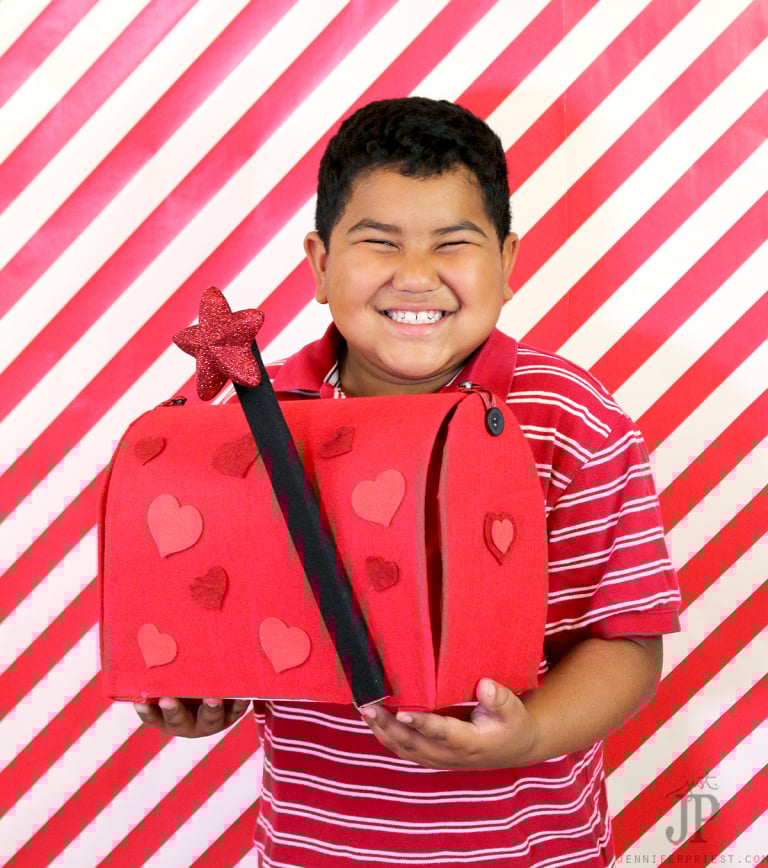
This kit is made for kids and even without the kit, this is a totally kid-friendly craft! Have the kids pick out their favorite patterns (or coloring book pages) and they can make custom window clings for any time of year. Matthew had a blast making these and I know we will be making more soon. Probably Minecraft window clings made from Minecraft coloring books. Because life is Minecraft if you have an 8 year old child right now. You know what I mean, moms, I know you know.
So if you do have this nifty Avery and Austin kit, this is what comes in it this month:

I ate those crackers. They are not paleo. But they taste pretty good. And I was totally surprised by the detail in the faces printed on the cookies. It felt wrong to eat Presidents but when that 3pm hangry came on and I was editing these photos, well, President cookies were damn good. I threw the SweetTarts in the trash because I'm not a sadist. Save the children.

How to make DIY window clings with puffy paint:
So here's what you do. Be prepared – this technique is way super high tech. Slip the coloring book page or template in a zip top bag. Sure, you can use Ziploc brand like came in the kit or you can go to the dollar store like me so you have more money leftover to buy a TON more puffy paint from my affiliate links above so you can help make me 25 cents richer. You decide.

Draw and fill in the coloring book shape on the bag. Try to make the puffy paint as smooth as possible. Bubbles and grooves will dry like that so unless you are going for hearts with a pizza-face finish, smooth it out.

I made this heart really goopy with the puffy paint. It took 3 days to dry. If you apply the puffy paint in a thinner layer, it will dry much faster, in just a few hours. You can add details with more puffy paint but again, the more you add, the longer it will take to dry. So I added three layers in three colors because I'm an over-achiever like that.

The cool thing about these Tulip Glitter Dimensional Paints is that the “paint” is clear so when it dries, it looks like glitter floating in the air. People will be amazed by your mad glitter skills if you make these.

Once you've designed all of your on fleek window cling designs like Versace, set the bag with the pattern (still inside) somewhere safe to dry, preferably far away from your kids, dogs, husband, reptiles, door-to-door salesmen, and cats. The thicker the paint, the longer it will take to dry. You can stick your finger in the paint to see if it is still wet if you are really tempted to mess with it.

Once the paint is dry, peel the window cling from the plastic bag. The one in the photo above was dry within 4 hours and was made with the thinnest layer of puffy paint I could manage to put on the bag. It took my 13 years of craft industry experience to make this magic happen. You can probably figure it out in 2 minutes.

Take a photo of your finished window cling in your hand and post that masterpiece to Instagram. People will heart. You'll be famous. You're welcome.

Watch this video for my tips on making window clings for puffy paint – the same process applies for puffy paint doilies:
More life changing DIY awesomeness:
Is my ego that inflated? No, but we gotta have fun if we are making crafts. Crafts make people happy, right? And THAT is life changing.
If you liked this project, check out these other puffy paint and window projects that will make your life better than it was before you read this blog post:


Thanks again for stopping by.
About the Author

Jennifer Priest is a 20+ year designer in the arts & crafts industry and home DIYer with a passion for creativity. An Army veteran raised on a ranch, from her experience, she shares smart DIY projects that save money and fun craft ideas that anyone can make. Besides blogging, Jennifer is a Master Practitioner and Trainer of NLP, Hypnosis, and MER, and coaches other online entrepreneurs on money mindset, business, and living an intentional life. When not blogging, Jennifer is having adventures in the wilderness, on road trips, playing with her cats, and making paleo food.


What a great idea! Thanks for sharing 🙂