

This content may include affiliate links, which means if you click on them, I may get a commission. The cool thing is, there’s no extra cost to you!
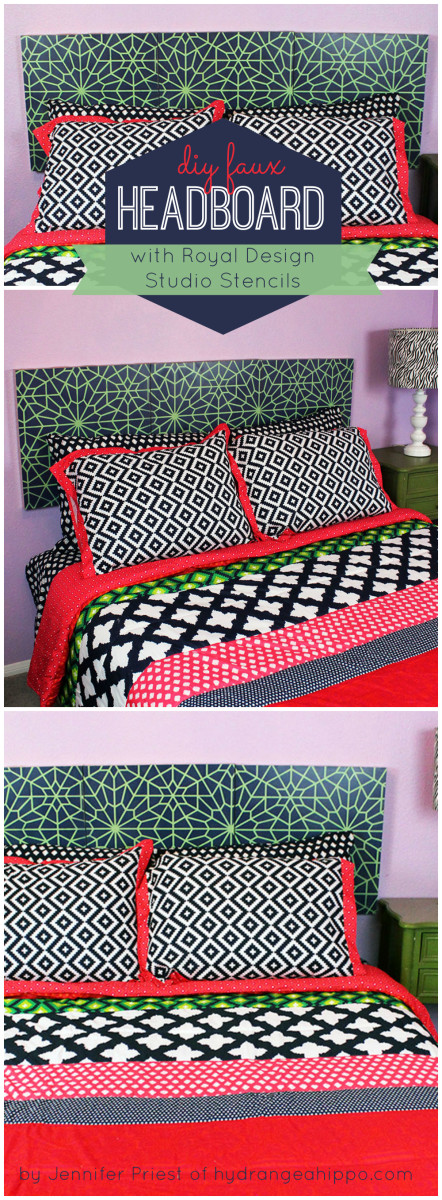
DIY Faux Headboard with Royal Design Studio Stencils
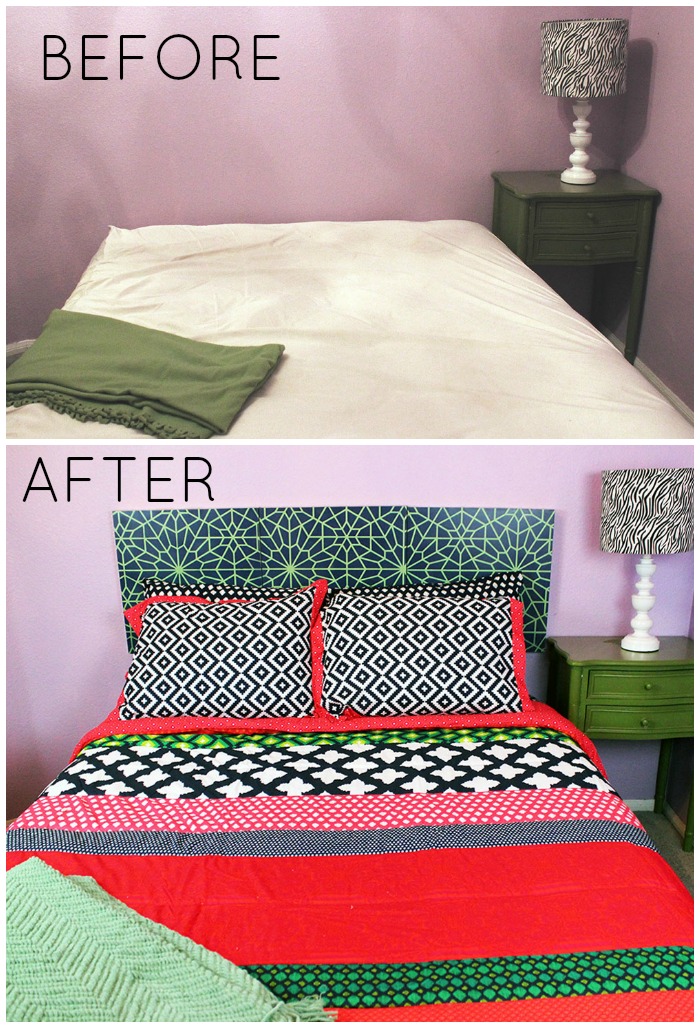
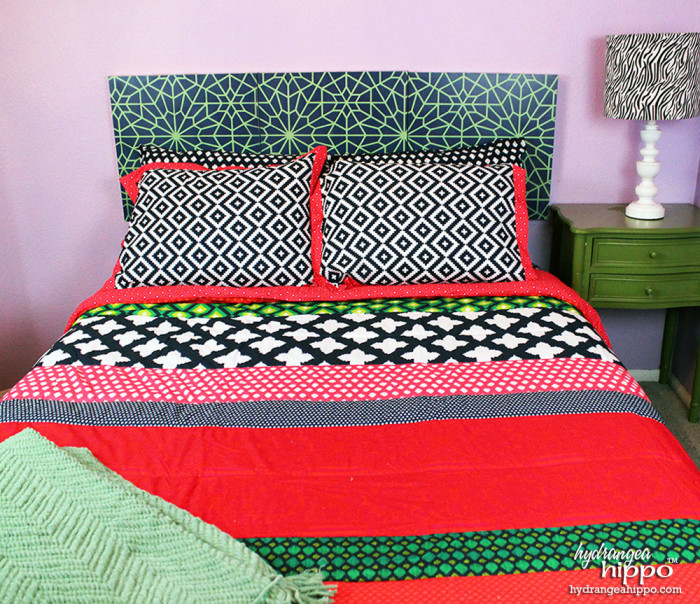
With the holidays being here and friends coming to visit, I want my house to look its best so I was super excited to find out about Royal Design Studio Stencils, available in stunning modern designs. An easy way to spruce up the house for the holidays is by using paint. Adding stencils makes the transformation of a simple wall or furniture piece even more impressive to guests! When my mother-in-law and sister-in-law come to visit, they usually stay in Katie's room. This year, she was gifted with a queen mattress set, however, we did not have space in the room to put any kind of bed frame other than a boring plain metal frame that no one sees. To dress up Katie's bedroom for overnight holiday guests, we decided to use the gorgeous Starry Moroccan Night stencil by Royal Design Studio Stencils to create a faux headboard for her bed.
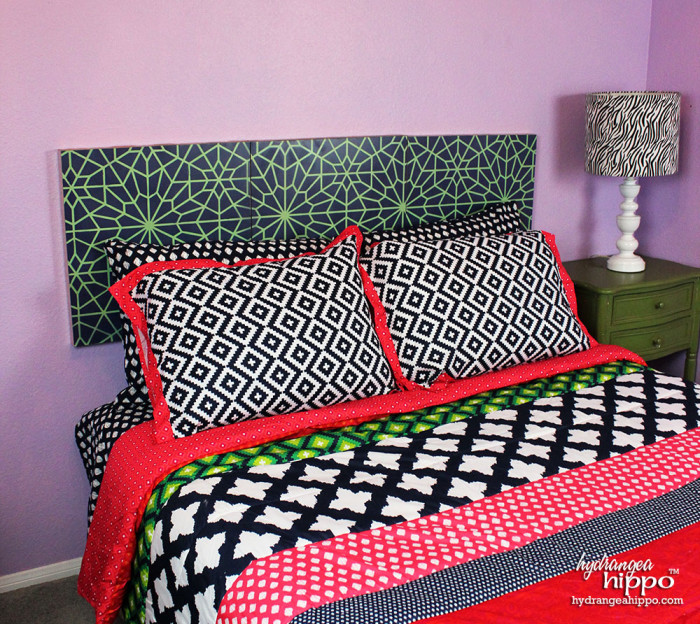
The slim “headboard” takes up very little space in the room but makes a big impact with Katie's new colorful geometric bedding. When she decides she no longer wants these, we can move them to another room to use as canvases to decorate the walls. Here are al the supplies you'll need to make this – I linked most of them with affiliate links online so you can buy the supplies easily.
Supplies:
- Starry Moroccan Night Stencil by Royal Design Studio
- Krylon ColorMaster Spray Paint in Pistachio
- Krylon ColorMaster Spray Paint in Metallic Gold
- Krylon ColorMaster Spray Paint in Royal Blue
- Aleene's Repositionable Tacky Spray Adhesive
- 3 Large Canvases, preferably from the clearance rack (mine were $3 each from Hobby Lobby)
- White Gesso
- Paint Brush for the Gesso
- Painter's Tape
- Boxes or Paper for masking
- Removable Wall Adhesive
- Level
Here's a handy dandy video sharing how to do this project, followed by instructions below:
Rather than spend hundreds on a real headboard we decided to use canvases to create the look of an upholstered panel headboard. Canvases of this size, about 18″ x 18″ and larger, are typically pricy but we scored on some clearance canvases at the local Hobby Lobby. Since we're painting over the canvases, the design on them doesn't matter. You can find similar canvases at local thrift shops and garage sales too if your local craft store does not have any on clearance.
Since we needed to cover the design on the canvases, we gave them each 1 coat of white gesso. The gesso covers the ugly design that was on the canvas and gives the canvas tooth so the paint we'll be stenciling on will adhere properly.
After gesso, we spray painted the canvases white and allowed that to dry for at least an hour. It is important that the spray paint be completely dry as then stencil will stick in tacky paint and may create marks.
To prepare the stencil, we sprayed the back with a light coat of Aleene's Repositionable Tacky Spray Adhesive, as the pamphlet that Royal Design Studios included with our stencil order suggested (they suggest another brand of spray adhesive but I had Aleene's on hand). This step made the biggest difference in helping us achieve a crisp edge to our stencil design! I love that Royal Design Studios included an informational pamphlet with our order to help us have the best experience and get the best results possible with their stencils.
After the paint was dry, we taped the stencil into place and pressed it down onto the canvas. Then we spray painted each canvas, working in sections. Once a section was dry, we removed the stencil and moved it over to the next section, matching the design using the pattern on the stencil. The stencils are cut extremely accurately and the designs are made to allow you to easily repeat the design on large sections of wall, furniture, or canvases in this case. I was surprised at how easy it was to expertly match up the stencil with the previously stencil design and continue the pattern over a large area. is is the best experience I have ever had with a home decor stencil – these aren't the goose and bow stencils of the 1980's!
Once all of the panels were stenciled and dry, we centered them on the bed and adhered them to the wall with removable wall adhesive. This is handy in the case that we move the bed or Katie moves – no holes to patch! Use a construction level to make sure the panels are level and look like a real furniture piece.
The panels give the bed a chic, updated look for under $100! Rather than creating a headboard, you could also stencil over old art to create new art pieces for your home to give it an updated holiday look.
Browse the amazing stencils over at Royal Design Studio – the website is full of inspiring project ideas for each and every stencil they offer as well as real world projects that other bloggers, designers, and crafters have created in their homes with the Royal Design Studio stencils.
About the Author

Jennifer Priest is a 20+ year designer in the arts & crafts industry and home DIYer with a passion for creativity. An Army veteran raised on a ranch, from her experience, she shares smart DIY projects that save money and fun craft ideas that anyone can make. Besides blogging, Jennifer is a Master Practitioner and Trainer of NLP, Hypnosis, and MER, and coaches other online entrepreneurs on money mindset, business, and living an intentional life. When not blogging, Jennifer is having adventures in the wilderness, on road trips, playing with her cats, and making paleo food.


I really like the DIY Faux Headboard with stencil idea. I’m going to try it.
Thanks