
This content may include affiliate links, which means if you click on them, I may get a commission. The cool thing is, there’s no extra cost to you!
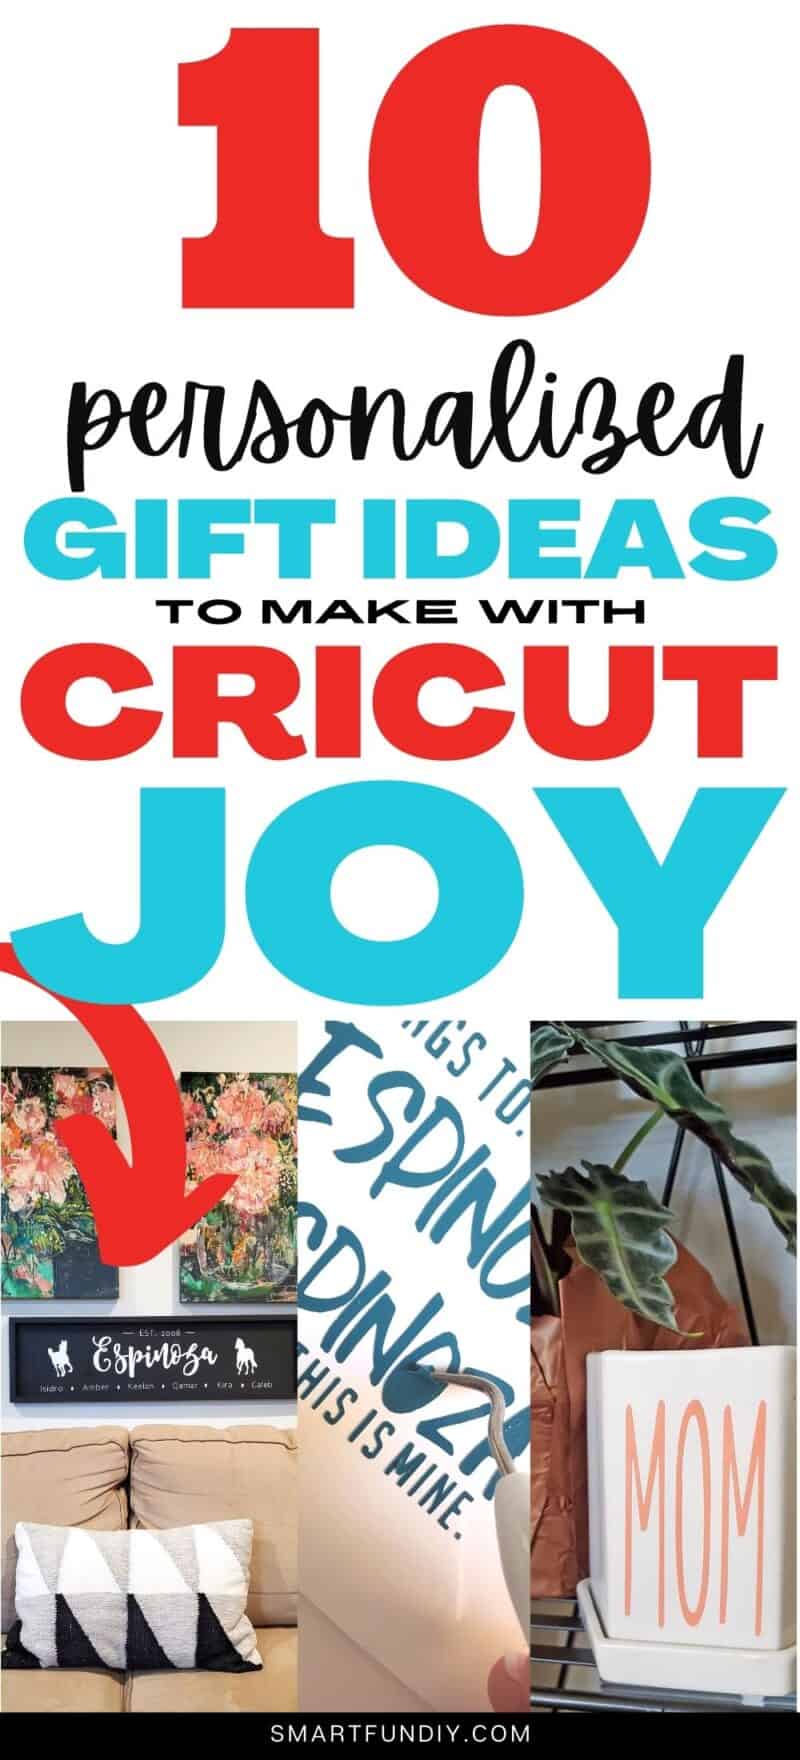
10 DIY Personalized Gifts to Make Fast with Cricut Joy
Inside: Quick DIY personalized gift ideas to make with Cricut Joy in under 30 minutes. You won't believe what you can create anywhere with Cricut Joy – see 3 photo tutorials and 7 more ideas with step-by-step instructions.
This is a sponsored post written by me on behalf of Cricut. All opinions are 100% mine. This post contains affiliate links – when you make a purchase from these links I may receive a percentage of the sale at no extra cost to you.
You reach a certain age (ahem, 30s and 40s …) and it seems impossible to find the perfect gift for the special people in our lives.
They have everything they want.
Or they can afford to buy everything they want.
Or the things they want are things I don't want to give (“sorry Mom, I don't want to clean your house for you as a gift plus you live 10 hours away“).
And you don't want to show up with another sad stack of gift cards that have no excitement value when giving or receiving.
I even set out on a mission to make giving gift cards more fun.
Nothing beats a personalized gift
One of my favorite childhood heirlooms and gifts is a sweater my grandma knit for me with my initials on the front. I wore that sweater everywhere!
It's memories like that, impact like that that we want when we give a gift, you feel me?
Personalized gifts can be expensive and let's face it: a lot of what you'll get at those mall gift shops or from the online photo printing service that are “personalized” are machine-made lame. We all know you just paid $20 more to get that thing “personalized”.
What if your personalized gifts could be:
- Affordable
- Special
- Truly personalized
Yeah! It's totally in your hands to create … and it's super easy for ANYONE to do with Cricut Joy!
10 Personalized Christmas Gifts you can make with Cricut Joy
The holiday season this year is gonna be way different … I just wanna stay inside with my toasty slippers on, a warm cup of tea in my hand, and make gifts while watching my favorite holiday movies. We've already watched National Lampoon's Christmas Vacation and it's not even Thanksgiving yet … you with me on this?
DIY gift ideas are at the top of my list this year. Since I won't be visiting family and friends in person the same way as in years past, I need gift ideas that are:
- Affordable
- Easy to mail and won't break
- Can be personalized (to make them special)
- Supplies are easy to get
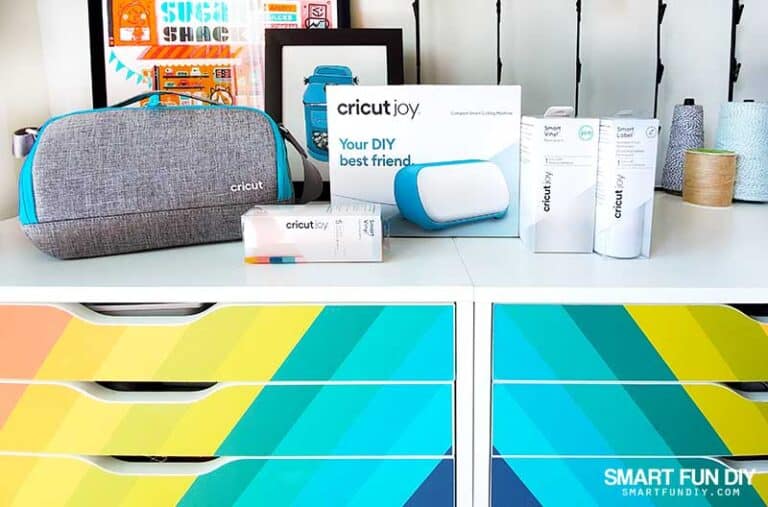
Enter Cricut Joy!
I'm sharing 10 easy-to-DIY personalized gift ideas you can MAKE with your Cricut Joy.
Here's why Cricut Joy is my go-to crafting tool:
- Lightweight – it's easy to lift and move anywhere
- Sleek design – it looks good as part of the home decor in my home so I can keep it on a shelf, in the open, and ready to use
- Minimal cords – the only cord you need with Cricut Joy is the power cord so there's less to store, and fewer cords to manage if you do keep it plugged in between uses
- Easy to Store – Keep Cricut Joy on a shelf in the open or store it in the handy bag designed specifically for Cricut Joy and it's accessories
- Quick to Set Up – I can get started creating in under 60 seconds!
Cricut Joy fits everywhere.

I keep it on a bookcase between my dining room and kitchen with the cords and accessories in a nearby drawer.
“Seriously, you are just getting paid to say this …”
You might be thinking, “well, I see this is a sponsored post and she's just getting paid to tell us all of this”. You're right … I received a free Cricut Joy machine in exchange for writing this post.
Here's the thing … I waited 6 months to write this post.
2020 has been a doozy of a year, no?! Everything in my life was topsy turvy from March until now. Can you relate? I bet!
At times I thought about quitting blogging … quitting crafting … leaving the online world and getting an office job.
All the crazy thoughts!
Creativity is a way of life
In those 6 months I found myself reaching for Cricut Joy more than any other craft tool I own. And I own some really awesome craft supplies, even after I downsized.
I truly believe that Cricut Joy is going to change the way we create, making it easier than ever to weave crafting into our lives.
Crafting isn't just something you do every once in a while, collecting dust in the closet next to the Christmas tree and cornucopia basket you use once a year.
Cricut Joy helps crafting become a part of how we live, not just something we do
Someone told me last year that they thought I crafted because I didn't have money to buy the things I wanted … and that once I started making more money, I'd stop crafting.
Well, I make the “more money”. And I still craft.
Because crafting is about creativity … bringing an idea from your mind into the world in a physical way. Seeing what your hands, your imagination, and your eyes can create. It's not about what you don't have … it's about bringing what's in your mind to LIFE.
If something helps make crafting and creating a part of my everyday life, fully integrated, then heck yeah I'm all for it!!
Cricut Joy gets my vote. I'm using the bejeezus out of it for Christmas gifts, so get ready fam … LOL
For all of these projects, start with these two tools:
- Cricut Joy
- Computer or mobile device with Cricut Design Space app loaded
Let's get started!
1. DIY paper gift card holders
You didn't think I wasn't gonna include gift cards in this list, right? I'm kind of the unofficial gift card queen around here …

You can make all of these fun DIY gift card holders with any Cricut machine, including Cricut Joy – all of the files are available here.
Here's what you'll need:
- Kraft paper cardstock
- Glitter cardstock
- Red & white baker's twine
- Adhesive
Watch this video to see how.
2. “Established” Family Name Wall Sign
Every gallery wall needs a family name. Create this custom gift for someone special to celebrate their family and the date they were “established” on their gallery wall.

Here's what you'll need:
- Wood sign panel or canvas
- Cricut Joy Smart Vinyl
Here's how:
- Measure the surface you'll use to create the sign.
- Type the family name in Cricut Design Space in a script font.
- Type the date they were married, met, or other significant date in Cricut Design Space in a skinny sans serif font.
- Make sure the design fits the 5.5″ wide Smart Vinyl that fits in the Cricut Joy. You may need to cut the name separately from the date to make the design fit surfaces wider than 5.5″.
- Weed the waste from the vinyl sheet, leaving only the words for the name and date intact on the carrier sheet (backing)
- Apply the Transfer Tape to cover all of the letters, pressing into the vinyl letters to make sure they are stuck completely
- Peel the Transfer Tape up, pulling the vinyl letters with it
- Apply the Transfer Tape to the surface (wood panel or canvas), pressing the letters down well
- Peel away the Transfer Tape and save for another project
- Repeat with each word if the vinyl was cut in separate pieces.
The sign is ready to give at this point or you can take it up a notch:
- Paint over the entire design with chalky finish paint
- Peel away the vinyl design to reveal the color or bare wood underneath, using the vinyl design as a mask or reverse stencil
3. Personalized Wine Glasses to DIY
Wine lovers enjoy receiving wine but personalized wine glasses are the gift that lasts.
Personalize the wine glasses with:
- names
- wine regions
- types of wine
- the years of their favorite vintages
- names of places they've traveled
- the list is really endless!
Here's what you'll need:
- Cricut Smart Vinyl
- Cricut Joy Transfer Tape
- Wine glass
I prefer stemless wine glasses for this project because the sides seem a little flatter which easier for applying vinyl designs. You can also design the vinyl words for the base of the wine glass, which is much flatter and easy to apply vinyl.
Here's how:
- Design the words in Cricut Design Space to fit the side of the wine glass or the base.
- Cut the labels with Cricut Joy from Cricut Smart Vinyl
- Weed the waste from the vinyl sheet, leaving only the words intact on the carrier sheet (backing)
- Apply the Transfer Tape to cover the words, pressing into the vinyl letters to make sure they are stuck completely
- Press onto the flat side of the wine glass or base, peeling away the Transfer Tape and leaving the word in vinyl behind
How to give these personalized wine glasses: Pair with their favorite wine, of course!
4. DIY Personalized Mugs
You know those white mugs with the tall skinny hand-lettering that all the farmhouse fans love?

Make your own version with any words, names, or quotes personalized for your favorite person.
Here's what you'll need:
- Tall Skinny font (free download)
- Cricut Joy
Here's how to make a tall skinny lettering mug:
- Measure the mug
- Design the words in Cricut Design Space using the Tall Skinny font, sizing to fit the mug
- Use Cricut Joy to cut out the words from black permanent Cricut Smart Vinyl.
- Apply to any plain white mug with transfer tape.
I used this technique to add words to a couple of flower pots I'll give with pretty houseplants inside:

5. Personalized Name Ornament
Use the same skinny font from the personlizaed mug to personalize a Christmas ornament. Most crafts stores have shatterproof ornaments with a flattened side you can customize with images … or vinyl in this case!
Supplies:
- Cricut Smart Vinyl
- Cricut Joy Transfer Tape
- Shatterproof ornament with flat sides
Here's how:
- Design the name in Cricut Design Space to fit the ornament
- Cut the labels with Cricut Joy from Cricut Smart Vinyl
- Weed the waste from the vinyl sheet, leaving only the name intact on the carrier sheet (backing)
- Apply the Transfer Tape to cover the name, pressing into the vinyl letters to make sure they are stuck completely
- Press onto the flat side of the ornament, peeling away the Transfer Tape and leaving the name in vinyl behind
Add a pretty ribbon bow to the top of the ornament and give.
6. Home Organzing Labels
Organize your entire home with custom labels cut from vinyl. I've looked online for labels like this and they cost as much as $10 for one single 8.5″ x 11″ sheet of labels.
With Cricut Joy, you can make up to 10 feet of labels completely customized to your needs and wants. I love the way these labels from Hip2Save look … she made them with her Cricut Explore Air 2 and they're easy to create with Cricut Joy too.
Supplies:
- Cricut Smart Vinyl
- Cricut Joy Transfer Tape
- Ribbon or baker's twine
- Gift card to home organizing store
How to make DIY home organizing labels with Cricut Joy:
- Design the labels in Cricut Design Space to fit Cricut Smart Vinyl (about 5″ wide to fit the 5.5″ wide vinyl and up to 20 feet long)
- Cut the labels with Cricut Joy
- Weed the waste from the vinyl sheet, leaving only the words for the labels intact on the carrier sheet (backing)
- Apply the Transfer Tape to cover all of the labels, pressing into the vinyl letters to make sure they are stuck completely
Personalized home organizing labels are a super thoughtful gift for new homeowners, busy moms, teachers to organize their classroom, and other people who want to get organized.
How to give this gift:
- Roll the sheets of labels (yes, you can make more than one!) and tie with a ribbon or piece of baker's twine
- Give with a gift card to a home organizing store where the recipient can choose the containers they want
7. DIY Custom Coasters
My family loves all things Disney and Star Wars. With Cricut Joy, you can create custom coasters with any of these designs.
Here's what you'll need:
- Cricut Infusible Ink Transfer Sheets
- Cricut Coaster Blanks
- Cricut EasyPress 2
Here's how:
- Design the image in Cricut Design Spacve, sizing to fit the Cricut Coaster Blanks.
- Cut the design from Cricut Infusible Ink Transfer Sheets
- Apply to the Coaster Blanks
You can also draw the design with Infusible Ink pens.
Gift wrap idea: Wrap with baker's twine and include with a case of their favorite beverage.
8. State Native Canvas
Remind them of their home state or favorite city with a DIY canvas featuring their home state.
I saw one of these signs for my city, Redondo Beach, at a gift shop for $75! And it wasn't even customized. We both know you can do this way better when you do it yourself.
Here are some ways to make this sign with Cricut Joy:
- Cut out the state shape from vinyl and add it to a canva or wood panel. Add a star over the location for the person's home town.
- Type the name of the city or state in Cricut Design Space. Add the dates they lived in that location. Cut from vinyl and apply to a canvas or wood sign panel.
9. “Property of” personalized vinyl decals
For siblings argue over whose stuff is who's … they can label it! Hlpe the kids feel ownership over their belongings and space with customized name labels.

I made these sheets of labels for niece and nephews. Personalize them for your family using the cut file here in Cricut Design Space.
Here's what you'll need:
- Personalized Name Labels cut file
- Cricut Joy Smart Vinyl in their favorite colors
- Cricut Joy Transfer Tape
Here's how to make these labels:
- Design the labels in Cricut Design Space to fit Cricut Smart Vinyl (about 5″ wide to fit the 5.5″ wide vinyl and up to 20 feet long), personalized with the recipients name and any other alterations to make the labels special
- Cut the labels with Cricut Joy
- Weed the waste from the vinyl sheet, leaving only the words for the labels intact on the carrier sheet (backing)
- Apply the Transfer Tape to cover all of the labels, pressing into the vinyl letters to make sure they are stuck completely
- Roll the sheets of labels (yes, you can make more than one!) and tie with a ribbon or piece of baker's twine

These label sheets make great stocking stuffers and are easy to mail when inserted flat into an envelope.
10. Stack of Greeting Cards
Everyone needs greeting cards from time to time and handmade cards are the best. Making cards by hand to give as gifts is truly a labor of love … the first time I did this, it took me hours.
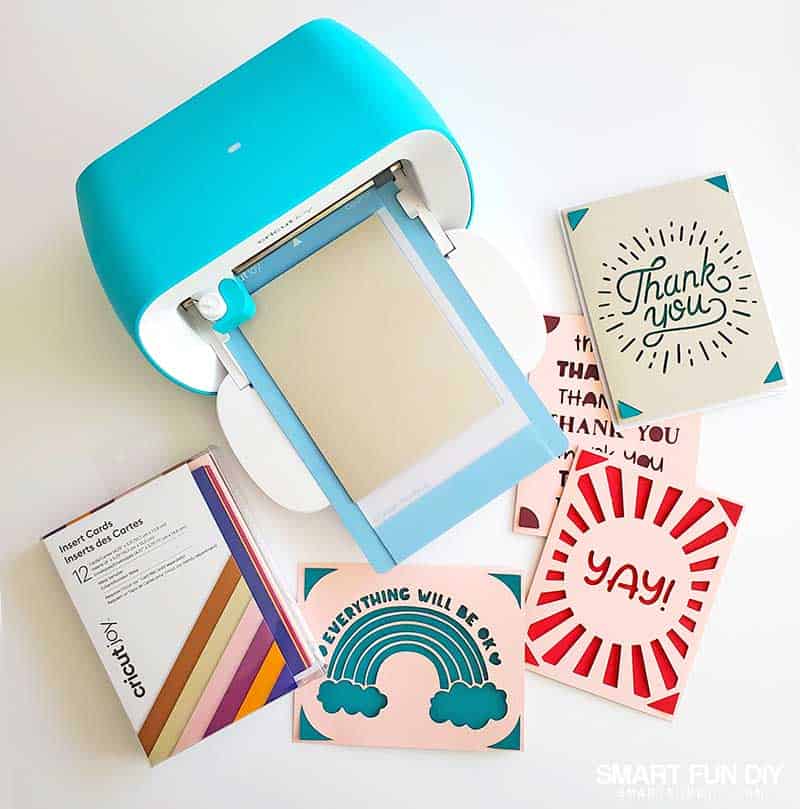
With Cricut Joy, you can create a stack of “handmade” greeting cards in minutes. Get the full how-to here …
Here are some creative ways to package your greeting card stack:
- Wrap with baker's twine in a tidy bundle
- Include a box to store the cards
- Place them in a cute basket with postage stamps, pens, and other card writing accoutrement
Why Cricut Joy is Best
Cricut Joy allows you create projects anywhere, fast. Projects like the ones I shared above. Here's why:
- No mats required – with materials like Smart Vinyl, you don't need a mat, making cutting simpler and more affordable
- Creating is fast – most projects can be done in one color, one cut, and in 15 minutes
- Smallest smartest Cricut ever – no need to your Cricut “away” … Cricut Joy stores seamlessly anywhere in your home, even on a countertop or bookcase
It's time to get creating now … it's never been easier than today.
Next steps:
Start at Cricut.com to get your Cricut Joy and materials like Cricut Smart Vinyl to create your favorite ideas from this list.
Which gift ideas will you try?
About the Author

Jennifer Priest is a 20+ year designer in the arts & crafts industry and home DIYer with a passion for creativity. An Army veteran raised on a ranch, from her experience, she shares smart DIY projects that save money and fun craft ideas that anyone can make. Besides blogging, Jennifer is a Master Practitioner and Trainer of NLP, Hypnosis, and MER, and coaches other online entrepreneurs on money mindset, business, and living an intentional life. When not blogging, Jennifer is having adventures in the wilderness, on road trips, playing with her cats, and making paleo food.


I quilt and have been wanting to try fabric cutting with the circuit. I do not know anyone with one to give it a try to see if I like the results before buying. I would love to have one. I will soon be moving to a home where I can have a craft room.
The Cricut Maker is best for fabric – you can read all about that here: https://www.smartfundiy.com/best-cricut-machine-maker/
I have a Cameo but this looks so much more versatile!
I was a longtime user of that tool … way back from the beginning in 2007! I switched to Cricut once I figured out how easy it was. I discuss that here: https://www.smartfundiy.com/best-cricut-machine-maker/
You should let people know that you have to have windows 10 on your computer to use your Cricut on design space .
I guess I kinda assumed that people would have an updated computer. I don’t see how anything even works on an older computer because almost nothing does before Windows 10. Might be time to upgrade the computer OR they can use their smartphone or a tablet with their Cricut. A Desktop is NOT necessary.
Wow! loved reading your article. Very well written. Such a creative ideas.