This content may include affiliate links, which means if you click on them, I may get a commission. The cool thing is, there’s no extra cost to you!
DIY Holiday Bathroom Update
This shop has been compensated by Collective Bias, Inc. and its advertiser. All opinions are mine alone. #QuiltedHoliday #CollectiveBias
The holidays are right around the corner and that means guests and parties and family visiting … isn't it about time you updated your bathroom? We have had new vanity lighting sitting in boxes in our closet for a couple months and I have really been wanting to give our bathroom mirror a fresh look. Whether you're trying to get that big bathroom DIY project done or decorating your space for the holidays, we're got you covered with some fresh ideas today. Even the regular items in your bath can get a DIY holiday bathroom update, like the toilet paper! Check out these three DIY holiday bathroom update tutorials to see how to install double vanity lights, how to trim a plain bathroom mirror, and how to stamp on your toilet paper to make it part of your holiday decor.
How to convert a single vanity light into double vanity lighting
We had basic builders grade lighting in our master bathroom. When we bought our house, it was a repo and the previous owners had taken all of the valuable light fixtures with them when they moved; and they left this ugly bathroom light fixture:
We tried to remove it once to paint the bathroom and then it got damaged. So the light was not only ugly, it was broken too! We started looking for a replacement but most lights that were wide enough to stretch over our already-wide double sinks were special order and very expensive. The light was attached with one junction box in the middle of the wall so our options were to buy one smaller light for the middle, special order an expensive wide light, or buy two lights and re-wire the wall. Of course we chose the rewiring option! This was the most difficult but the most economical option for us. Here's the result:
Two lights are definitely better than one! If you are thinking about doing an update to the bathroom, new lighting is the most economical and fastest update you can do. Here's what you'll need for this project:
Supplies:
- 2 junction boxes
- electrical wire
- wire caps or nuts
- drywall patch
- knockdown, spackle, and whatever you need to match the finish on your walls
- wall paint
- paint brush and roller set
- plastic sheeting
- screws
Tools:
- stud finder
- wire stripper
- wire cutters
- hammer
- drywall saw
- utility knife
- putty knife and spackling tools
- drill with drill bits and screw heads
- pencil
- measuring tape
Always be sure to turn off the electricity before working with any electrical outlets, switches, or fixtures in your home.
Remove the old light fixture, taking care not to damage the drywall in the process. Cap any exposed wires.
Measure the wall to find the center. Then cut that in half to find the center for mounting each light fixture. Use a stud finder to make sure the light box will not be positioned over a wall stud. If so, make adjustments to the position of both lights. Our wall was 84″ wide which meant the center of the wall was at 42″. To center each light, we'd need to measure 21″ from the side walls in towards the middle of the wall. A stud was at 21″ so we measured in 24″ for each light box, leaving a 6″ gap in the center between the end of each 30″ light fixture. We mounted the lights 7″ up from the top of the mirror since the bulbs on this fixture hang lower than the bulbs on our previous fixture. The measurements for your light fixtures will be different, depending on the layout and dimensions of your bathroom wall and the fixtures you choose.
Center the junction box over the mark for each light and trace with a pencil. Using a utility knife, trace the pencil mark to score the wall. Use a drywall saw the cut away the circle of drywall.
Insert and mount the junction boxes inside the holes. Remove the junction box for the original light fixture and patch the hole with a drywall patch. Allow to dry.
Paint over the patched wall and allow to dry.
Mount the light fixtures to the junction boxes, following the manufacturer instructions.
Once the lights are mounted, add bulbs and flip the breaker to that room of the house to enjoy your new lighting!
How to add trim to a bathroom mirror
For ten years now I have wanted to trim out our bathroom mirror. It was another basic builder's grade item in our home and it just looked so tacky with these two plastic clips holding it to the wall. Finally, I got my husband to agree that the mirror needed an update!
Here's what you'll need to add trim to your bathroom mirror:
- window molding or trim cut to length of sides, top, and bottom of mirror
- waterproof construction adhesive
- white gloss enamel paint
- paint brush
- painters tape
- chisel
- miter saw or miter box and hand saw
Measure the perimeter of the mirror and cut the pieces of trim to fit, with 45º angles at each end using a miter saw or miter box. Dry fit the molding to the mirror to make sure it fits. Use a chisel to hollow out the place where the molding hits the plastic clips holding the mirror to the wall. Make sure the molding lays flush against the wall and mirror. We bought primed molding so that we would have less painting to do. Since this trim was going in the bathroom, we painted it all with 2 coats of white gloss enamel paint.
Once the paint was dry, we used construction adhesive to glue the pieces of molding to the mirror. Apply a squiggle of construction adhesive across the back of each piece of molding.
Carefully press the molding to the mirror.
If any construction adhesive shows on the mirror, wipe it away with a damp towel. Secure in place with painter's tape while the adhesive dries overnight.
How to make a toilet paper Christmas tree
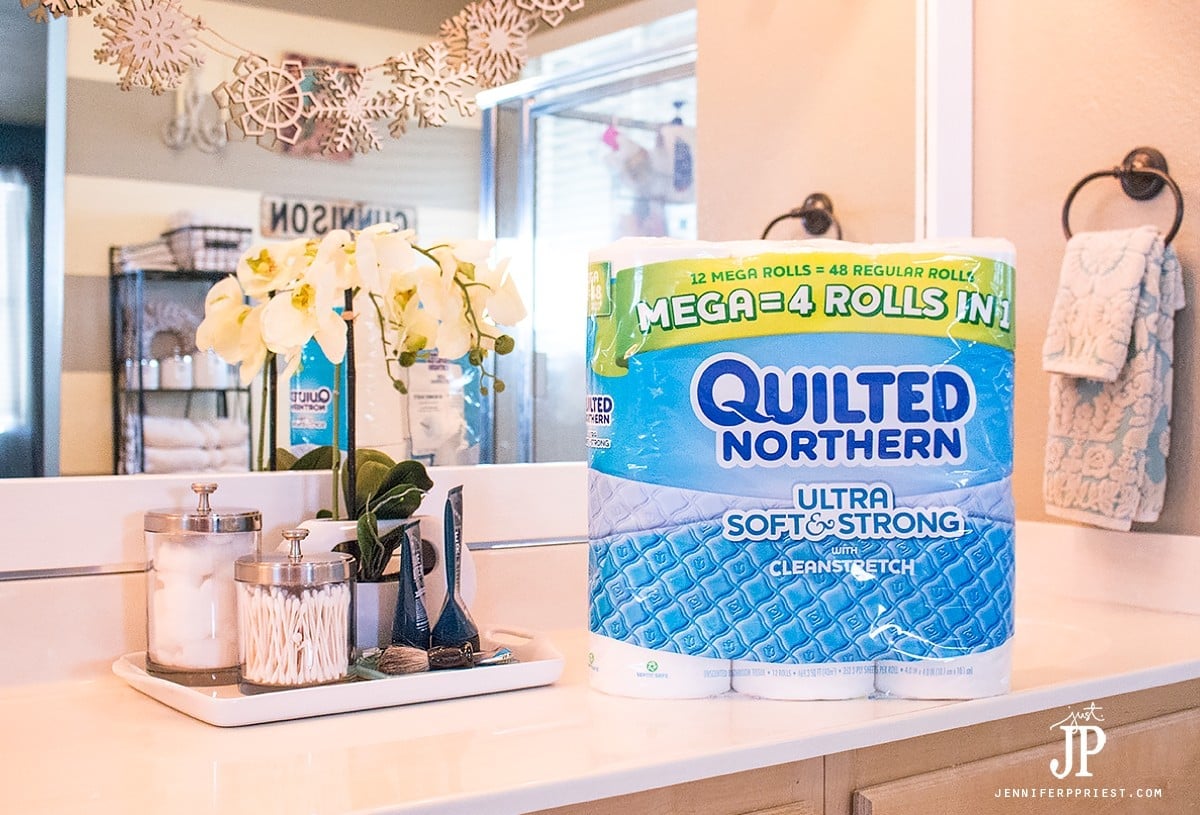
You know what else doesn't have to be “basic builder's grade”? Your toilet paper! Just like Quilted Northern Ultra Soft & Strong® Mega Rolls last longer, you can make your holiday decor “go further” by decorating your toilet paper! With less roll changes needed, Quilted Northern Ultra Soft & Strong Mega Rolls are perfect for creating a stacked TP Christmas tree in the toilet room that can last the whole holiday season.

Keep more toilet paper on hand and have less to worry about during the busy holiday season with Quilted Northern Ultra Soft & Strong® Mega Rolls, which are 4 regular rolls in one. Plus, your bathroom will look super cute!


Here are the supplies you'll need to make this stamped DIY toilet paper project:
- Quilted Northern Ultra Soft & Strong® Mega Rolls (Blue package, 12 count)
- foam stickers (I got a Christmas themed foam sticker kit in the holiday decor section in Target)
- foam sheets
- scissors
- marker
- non-toxic dye ink
Watch this quick video to see how to make DIY stamped toilet paper Christmas trees!
Another way to make these stamped images is to apply the foam stickers to foam sheets, cardboard, or wood blocks to make stamps. Lay the stamps face up on a tabletop. Then press an inkpad onto the stamps to ink them up. Gently roll the Quilted Northern Ultra Soft & Strong® Mega Rolls across the stamps to apply the image with the ink. Repeat on at least 6 rolls.
Stack the rolls with 3 on the bottom row, 2 on the next row, and one on the top row to form a Christmas tree on a shelf in the bathroom. Change the design as you use up the rolls – you can spell out a word, make other shapes like a santa hat, or make larger stacked trees with the toilet paper throughout the holiday season.
How would you update your bathroom for the holidays? Will you be making a stamped toilet paper Christmas tree with Quilted Northern? Let me know in the comments!
About the Author
Jennifer Priest is a 20+ year designer in the arts & crafts industry and home DIYer with a passion for creativity. An Army veteran raised on a ranch, from her experience, she shares smart DIY projects that save money and fun craft ideas that anyone can make. Besides blogging, Jennifer is a Master Practitioner and Trainer of NLP, Hypnosis, and MER, and coaches other online entrepreneurs on money mindset, business, and living an intentional life. When not blogging, Jennifer is having adventures in the wilderness, on road trips, playing with her cats, and making paleo food.





I love your bathroom updates! They really added some wonderful touches to your space. And the toilet paper Christmas tree is adorable. {client}
Such a cute idea!!
I would have never ever thought of stamping on TP!
I LOVE this idea! Super cute!
Such creative, festive ideas! Definitely utilizing them!
Cute idea. I can incorporate elf on the shelf into TP on the shelf
You’re bathroom holiday update looks fabulous! Looks great with the updated lighting and mirror! Love that you used toilet paper stamped with holiday designs to decorate your bathroom too! I will be updating my bathroom for the holidays too and will be borrowing this idea. Thanks for the great blog post as I enjoyed reading it very much! Happy Holidays!
I have been wanting to frame my builder grade mirror for so long! I just need to do it! The stamped TP is such a unique and festive idea!
This is such an amazing idea! Wait until my sister sees this post!
There are some really cute ideas for the holidays but I will just be switching out hand towels, adding a holiday scented candle and a holiday decoration piece. I’m thinking about doing something DIY for the decor with all the great ideas I’ve seen!
Your bathroom updates look really nice! 🙂 The stamped toilet paper is really so cute too…guests would be impressed! 😉
Great idea to wrap up rolls as xmas gifts! Super cute & adds lots of décor to the bathroom
We actually just stamped right on the toilet paper LOL
I love the great ideas and your bathroom looks fabulous!!! Quilted Northern is the only toilet paper I buy!