This content may include affiliate links, which means if you click on them, I may get a commission. The cool thing is, there’s no extra cost to you!
Organize Your Apartment with Cricut Joy: DIY Labels to Make in 5 Minutes or Less
This is a sponsored post written by me on behalf of Cricut. All opinions are 100% mine.
This post includes affiliate links. When you click and purchase from these links we may get a commission from the seller. The cool thing is, this doesn't cost you any extra money!
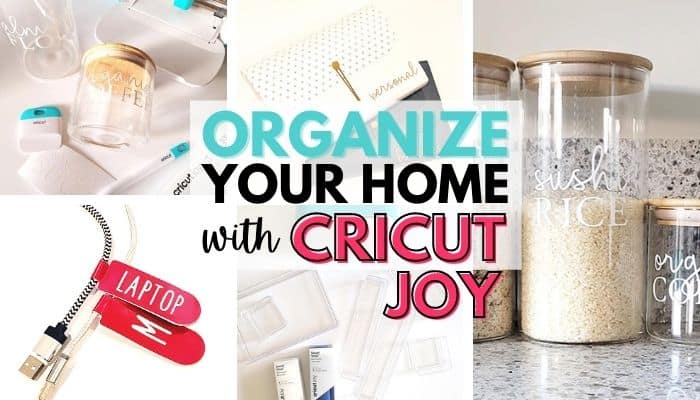
Inside: 6 DIY labels you can make to organize your home in 5 minutes or less using Cricut Joy plus why I ditched my label maker!
A year and a half ago I gave up the massive house in the suburbs and downsized to a tiny apartment by the beach. With a quarter of the living space I had before, home organizing is key to keeping my home tidy and keeping my sanity. Enter Cricut Joy, making custom home organizing labels and solutions easy and fast!
Most Important Labels for Organizing Your Home
Giving every item a “home” that's labeled is the key to keeping any space tidy and organized.
Labels make items easy to find when you need them and easy to put away when you're done using them.
In my small apartment, labels are most useful for organizing:
- Cords
- Pantry storage
- Bins and boxes that aren't clear
- Documents and files
- Drawers with more than one type of item in them, like bathroom drawers
Create Custom Labels with Cricut Joy to Solve These Home Organizing Problems:
- Custom labels for cords and cables
- Pantry labels for the foods you actually store (and not the ones you don't)
- Help the kids keep the bathroom organized
- Make organizing important documents in files pretty and easy
- Unique ways to make removable labels for cardboard and fabric boxes
- Pretty handwritten labels for boxes with metal label holders
I'll share the step-by-step process for creating each of these label solutions for yourself using Cricut Joy. But first:
Why not Use a Label Maker to Organize the Home?
I have a label maker that makes wonderful labels fast.
Here's why I am NOT using the label maker to organize my home:
- The labels look institutional and cold
- The edges of the labels peels after a few touches
- The font selection is limited to 5 fonts
- And the size is limited to 1/2″ tall
I'm a big believer in Alton Brown's principle of “no unitaskers in the Kitchen” applied to my entire home.
A label maker only does ONE THING: make labels.
There's very little space in my apartment. The label maker is:
- boxy
- has cartridges to manage
- sucks down batteries
- creates a lot of waste via empty cartridges
The Label Maker is actually bigger than my Cricut Joy machine … and not nearly as cute or useful.
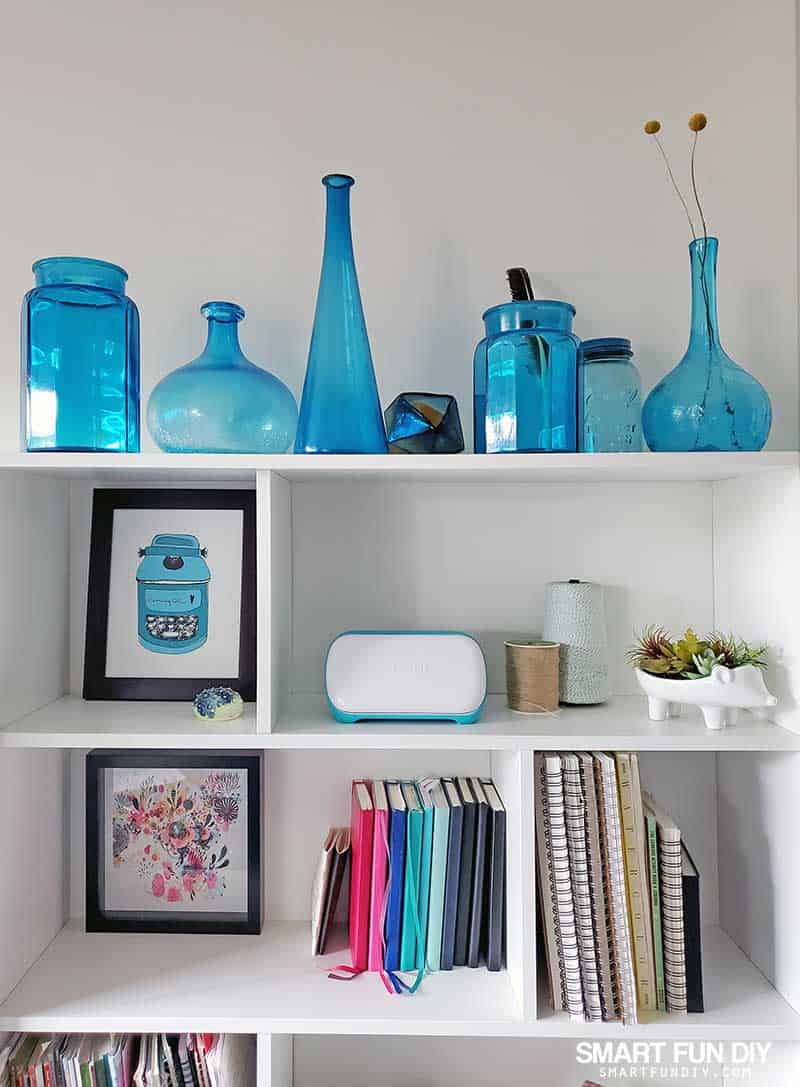
I got my Cricut Joy machine shortly after I moved in to this tiny 700 square foot apartment. And it was the answer to keeping my apartment tidy and organized in a way that still felt like a home.
Plus it looks darn cute on this shelf in my kitchen:
Cricut Joy allows anyone to easily and quickly create:
- custom labels (like we're doing here!), and …
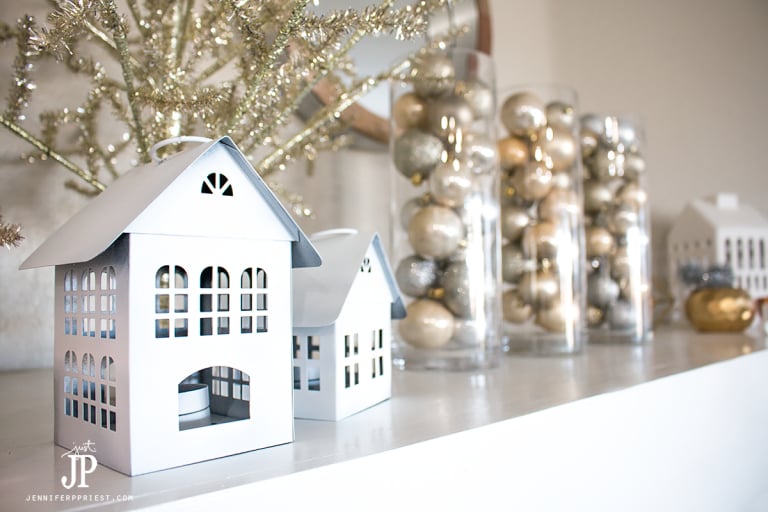
- home decor
- vinyl decals
- greeting cards
- custom iron-ons
- titles and embellishments for scrapbooking
- cut paper letters and shapes for school projects and crafting
- handmade gifts
- and almost anything you can think to DIY!
6 DIY Home Organizing Labels to Make with Cricut Joy
Cricut Joy makes creating labels for organizing easy and fun. One cord to plugin, connect to your smartphone or computer via Bluetooth, and you're ready to create!
Using Cricut Smart Materials makes the project even faster since you don't need a mat to hold the materials – insert the Smart Materials into Cricut Joy and go. I'll share the Smart Materials I am using in each solution below.

In each of these solutions I'll share how to use different materials and techniques to create custom labels plus tips and tricks for getting the best results. Let's get started!
1. How to label cords with custom vinyl labels
With so many electronics in our households, there are a multitude of cords to organize:
- Phone chargers
- Tablet chargers
- Laptop chargers
- Cords between devices, like HDMI cables
- Internet cords and ethernet cables
- Phone cords (for those with landlines)
- Extension cords and power strips
- And probably more that I am forgetting …
Why organizing cords is important
All of the cords look similar and they rarely have brand names on them.
Digging around in a messy drawer for the cord you need is the last thing you want to do when your laptop battery is at 3%.
And my son is constantly “borrowing” my boyfriend's iPhone charger because he thinks it's his own.
If the cords were labeled, we could find what we need, when we need it and avoid “borrowing” cords that aren't ours.
We needed cords labels, fast!
The problem with plastic cord tags
I searched for cord labels and organizing solutions online.
Most required hand-writing the labels onto plastic or fabric tags. I've received compliments on my handwriting but as I type more now than write, it's not looking so pretty.
I liked the idea of using different colored tags to identify the cords for each person in the family. Reading the reviews, most of these cord tag sets didn't have enough variety of colors or shapes so users had to buy 2-3 sets just to get the tags they needed.
I had an idea:
What if we could make custom cord tags using vinyl?
And each person in the family could have their own color of vinyl for THEIR cords, to help everyone know which cord was theirs?
Cut vinyl for the tags using Cricut Joy. Then create labels for the vinyl tags, also using Cricut Joy.

Opening a drawer and seeing everything labeled and organized is pure bliss! Plus my son can always find his own phone cord.
Tip: use writable vinyl to make tags you can write on yourself.
Here's what I used to make these tags:
- Cricut Joy
- Rounded Label #M10E79A5F – via Cricut Access
- Four Seasons Home Decor (Font) – via Cricut Access
- Cricut Joy™ Smart Vinyl™ Matte Metallic Sampler, Gala – Permanent
- Cricut Joy™ Smart Vinyl™ – Removable in White
I cut the background layer from white vinyl and layered the pink vinyl tag on top. To create the words on the pink vinyl tag I used the slice tool within Cricut Design Space. You can use words for your labels or initials for the person to whom the cord belongs.
2. Pretty File Folder Labels For Organizing Important Documents
A few years ago I downsized from a 4 drawer file cabinet to a single 12-pocket accordion folder system for my filing. Most of my statements arrive digitally and I get a discount on some of my accounts for paperless billing.
Even though I don't have a ton of file folders to manage, I still want the process of organizing and storing my important papers to be enjoyable. Who says filing can't be cute?!
I used my label maker to label the folder and after a few weeks, the labels started to peel and collect dust at the edges. Gross!
My file folder was ready for a refresh.
Why use Cricut Joy™ to make file folder labels?
- No printer needed
- Cut vinyl words and apply as decals
- Use Cricut Joy Pens to create the look of handwritten labels on Smart Cardstock or Writable Vinyl
- Cut labels in any shape or color you want
I used Cricut Joy to create pretty handwritten labels for the tabs of my file folder using Cricut Joy™ Permanent Fine Point Pens 0.4 mm, Ultimate (30 ct) and Cricut Joy™ Smart Paper™ Sticker Cardstock, White. Cricut Smart Materials, like the Sticker Cardstock I used, can be cut without a mat so you can load them directly into your Cricut Joy and start creating right away.

I cut a vinyl decal to label the outside of the plastic accordion folder using Cricut Joy™ Smart Vinyl™ Matte Metallic Sampler, Gala – Permanent
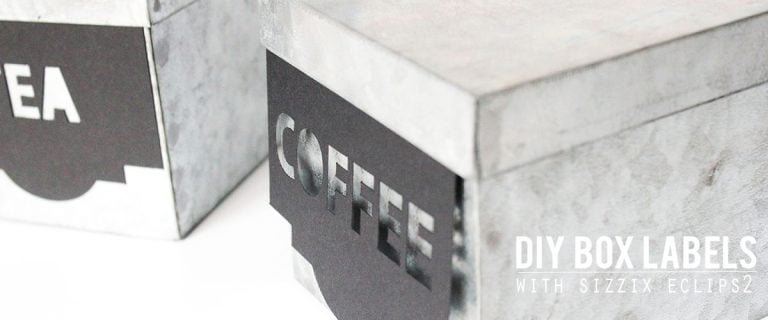
3. How to Label Fabric or Cardboard Boxes Without A Label Holder or Window
Fabric and cardboard boxes are great for organizing in open spaces because they hide what's inside. No one wants to open every box to find out what's inside.
The problem with labeling cardboard or fabric boxes:
- Permanent labels don't allow you to change what you're storing inside the box
- Labels won't stick to fabric and some cardboard
- Cardboard can tear when sticker or adhesive labels are removed
- Sticker labels leave behind residue when removed
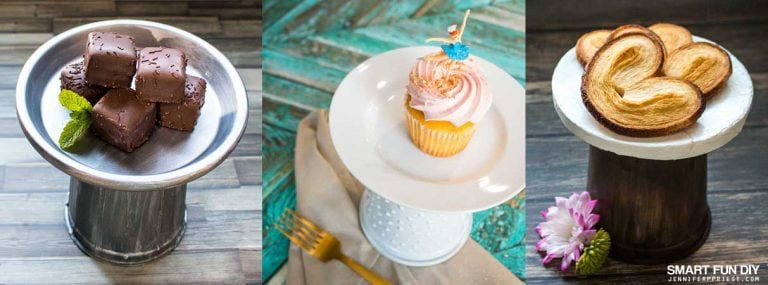
I used to have metal boxes in my pantry for tea. I didn't want to put sticker labels on them for the same reasons I listed above; I wanted temporary labels. Instead I created slip-on labels that could be changed and removed easily using cardstock.
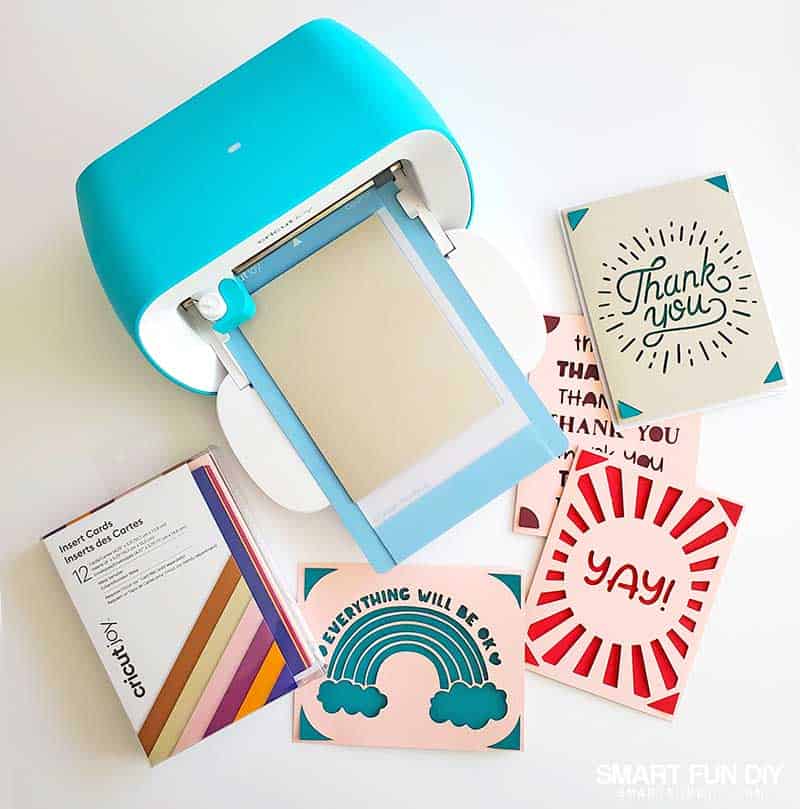
Cricut Joy™ Insert Cards can be used to create slip-on box labels in the same way!

Here's how:
- Design a project using Insert Cards in Cricut DesignSpace.
- Put the Insert Card on the Insert Card Mat for Cricut Joy.
- Choose the correct size for the Insert Card you're using.
- Insert the card and mat into Cricut Joy and go. Make sure the word is positioned where you want it on the card.
- Draw or cut the designs onto the card with Cricut Joy, switching out the blade and the pen as directed by the Cricut Design Space software.
- Remove the card from the mat.
- Slip the card over the side of the box and hold in place with the box lid.
Create a new “label” when you change the contents of the box. Or toss the card when you get rid of the box!
4. Pretty Handwritten Labels on Paper for Metal Label Holders
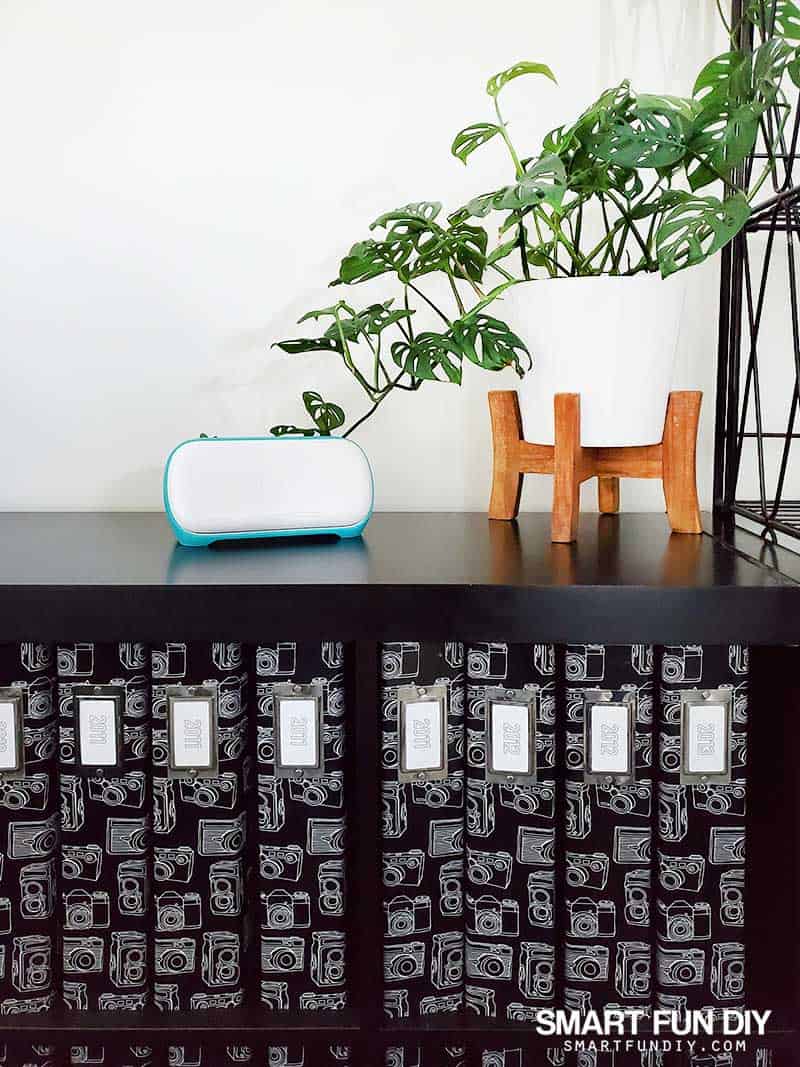
Metal label holders on boxes and books look clean and classy and are easy to change. Cut a new strip of paper, write the label on it, and insert into the metal label holder.
What if your handwriting is messy? Or you want a uniform look to your labels?
Create custom labels for metal label holders for boxes, books, and more using Cricut Joy, like I did for my scrapbooks last year.
Here's what you'll need:
- Cricut Joy
- Cricut Joy Smart Paper™ Sticker Cardstock in white
- Cricut Joy Pens
Draw and cut the labels all in the Cricut Joy!
5. Organize Messy Drawers with Custom Labeled Drawer Organizers
I was tired of my son's drawers in the bathroom hanging open because everything was shoved inside in a disorganized way.
And he was always asking me to buy more body wash or toothpaste and I couldn't tell if he really needed it because there was SO MUCH STUFF in his drawers already. Did he need it … or was it that he just couldn't find what he already had in those messy drawers?! Ugh!
I ordered a set of clear drawer organizers, told the boy to clear out his drawers and wipe them clean on the inside, and we purged all of the things he was not using. Next, was labels.
Why label the organizers inside a drawer?
Anyone with kids knows that they take stuff out of the bin and forget where it belongs if and when they try to put the item away. I've organized the bathroom drawers a bajillion times and find them looking like a disaster just a few weeks later.
What if they could look like this instead?

Labeling drawer organizers helps:
- Kids to know where items belong in a drawer
- Limit the number of items stored
- Help kids put items back where they belong
Cricut Joy makes it crazy easy to label anything with vinyl:
- Design in DesignSpace – measure the bins first to see how much room you have for decals.
- Let the kids choose the fonts and colors of vinyl so they have buy-in.
- Cut the SmartVinyl with Cricut Joy – no mat needed!
- Weed the design.
- Apply vinyl transfer tape to the design.
- Peel from the backing and press the design onto the bottom of the organizer box, burnishing the edges of the design.
- Peel the transfer tape away.

I used removable vinyl so that as his needs grow, we can remove the vinyl labels and add new ones. You can use a different color of vinyl for each member of your family. We used:
- Cricut Joy™ Smart Vinyl™ – Removable in Vivid Blue
- Cricut Joy™ Smart Vinyl™ – Removable in White
Are they going to stop making a mess? Probably not. But the labels make it easier for them to put the drawer back in order themselves.
6. Removable Labels for Pantry Staples
To downsize from a huge pantry to standard kitchen cabinets I gave up my large plastic tubs for pantry staples like flour and sugar. I'd also moved to a low-carb eating lifestyle so I no longer needed to store things like rice or flour.
When I purchased a set of pantry jars online, they came with labels for food items I didn't use. I needed labels for pantry staples like almond flour and flaxseed meal. Over time there were some low-carb food items I stopped using, like monk fruit.
I needed a set of labels that I could remove as I changed what I ate and what I stored.
Even if I could have found labels for all of the weird pantry staples I was using, most labels were basic black and white.
What if I wanted fun custom colors?!
I used Cricut Joy to cut custom vinyl labels for the pantry staples I needed and not the ones I didn't. Because I used Removable SmartVinyl, I could remove the vinyl labels once I'd used up that food supply or when I wanted to change what was stored in the jar. Yay!
Here's what my jars look like:

Here's what you'll need to make this project:
- Cricut Joy™ Smart Vinyl™ – Removable in White
- glass pantry jars with bamboo lids
- vinyl transfer tape
- burnishing tool or credit card to burnish
I'd love to hear which “weird” pantry staples you're struggling to find labels for. And now, you can make your own.
If you like the fonts I used, try:
- Hickory Jack
- Adobe Hebrew
Ready to organize your home?
Get started with Cricut Joy today and organize your home with custom solutions for you.
Save this idea to your Cricut board on Pinterest so you can find it again later:

If you're not sure how to solve your organizing issues, leave a comment below – we can work through this together!
About the Author

Jennifer Priest is a 20+ year designer in the arts & crafts industry and home DIYer with a passion for creativity. An Army veteran raised on a ranch, from her experience, she shares smart DIY projects that save money and fun craft ideas that anyone can make. Besides blogging, Jennifer is a Master Practitioner and Trainer of NLP, Hypnosis, and MER, and coaches other online entrepreneurs on money mindset, business, and living an intentional life. When not blogging, Jennifer is having adventures in the wilderness, on road trips, playing with her cats, and making paleo food.