

This content may include affiliate links, which means if you click on them, I may get a commission. The cool thing is, there’s no extra cost to you!
Hide Their Gifts! Easy DIY Christmas Tree Treat Boxes Using Cricut Maker
Inside: Learn how to make the most adorable personalized Christmas Tree Treat Boxes that double as holiday decor using your Cricut Maker and Cricut Maker tools.
This is a sponsored conversation written by me on behalf of Cricut. The opinions and text are all mine.
Surprises were a huge part of holiday gift-giving in our family growing up. My parents loved a good scavenger hunt on Christmas morning, hiding clues for us to find and riddles to solve to identify the final location of our gift.
Our sneaky gift tradition continues in my family in a new way now that my kids are older. I like to hide gifts throughout my home, disguising the gifts as part of my holiday decor.
Table of Contents
Paper Cone Christmas Tree Treat Boxes … with a Surprise Inside!

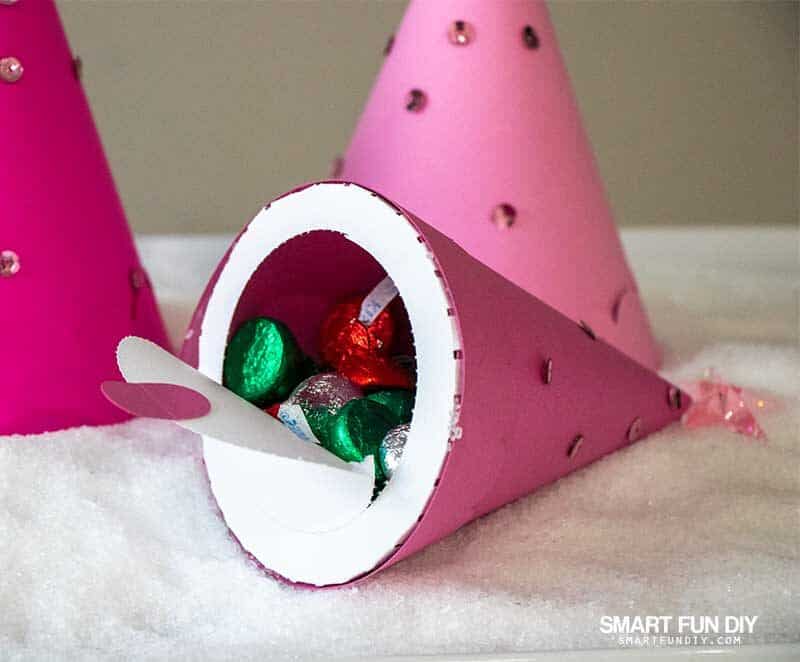
These festive paper Christmas trees each have a surprise inside! Each cone is filled with a gift that guests can discover when peeling away the perforated tab on the bottom.
How to Use These Candy Cones as Gifts
These paper Christmas trees make gorgeous and simple coffee table decor or set in a vignette on an entry table. Arrange them on a platter, nestled in epsom salt “snow” for a wintery effect.
Add each recipient's name to the individual Christmas tree treat boxes using your Cricut Maker:
- Using your Cricut, cut the name from vinyl to create a sticker.
- Use the Cricut markers to draw the name onto the bottom of the cone itself.
- Create stickers using Cricut and sticker paper and attach the sticker with each person's name to the bottom of the cone.
Here are a few more creative ideas for using these gift cones:
- Pass out as party favors
- Use these Christmas tree treat boxes as gift wrap for a gift exchange!
- Hand the boxes out as door treats when friends and family stop by for holiday visits
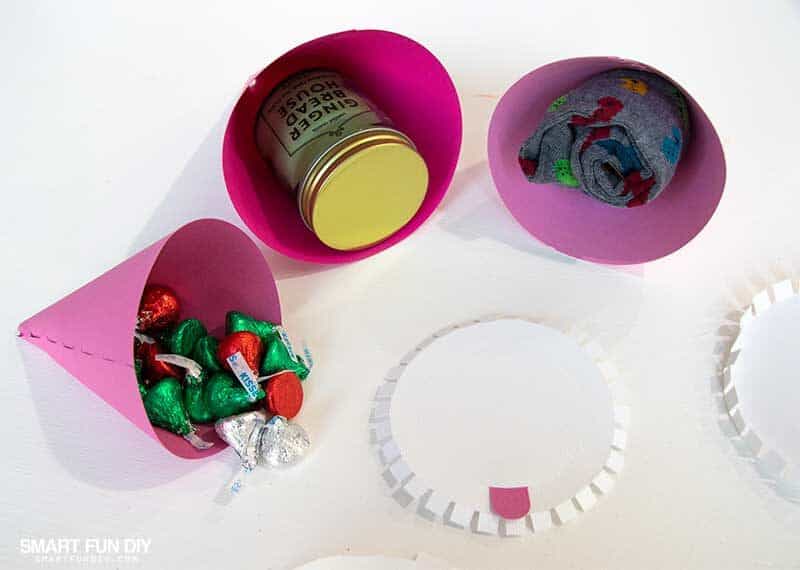
What to Put Inside a Paper Treat Cone
These candy cones were initially designed to be filled with candy as birthday party favors. With Cricut Maker, you can cut these cones to any size you like, filling them with small gifts like candy or socks and more significant gifts like a candle.
Surprise them with these gifts inside the treat cones:
- Gift Cards – get even more gift card ideas here
- Money – get more ideas for giving money gifts here
- Lottery Tickets
- Small candles
- Socks
- Mittens
- Candies
- Earbuds
- Jewelry
- Car keys (hey, they don't have to be small gifts!😉)
- Coal (if they're naughty 🤣)
- Chapstick, lotion, or other personal care items
- Makeup and skincare products
How to Make Paper Cone Christmas Trees with Cricut Maker
The Cricut Maker and Maker tools make Christmas tree treat boxes easy to make.
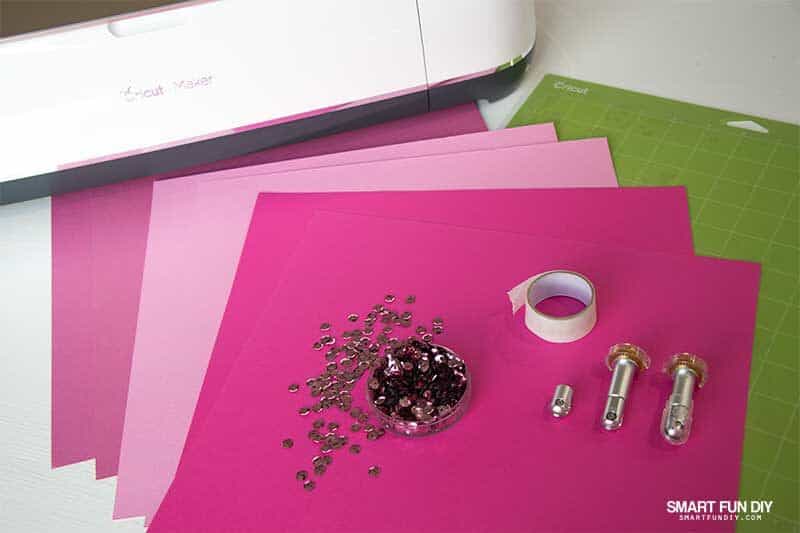
You'll need:
- Cricut Maker
- Basic Perforation Blade + QuickSwap™ Housing
- Cricut Scoring Wheel Tip
- Cricut StandardGrip Machine Mat
- Cardstock (2-3 sheets per cone)
- Tape adhesive
- Sequins, buttons, or pom poms to decorate (optional)
- Adhesive dots
- Gifts to place inside each cone 🎉
Why choose Cricut Maker?
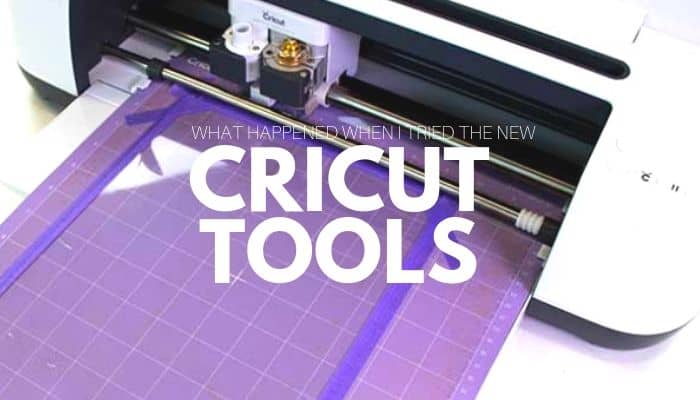
Fabric, leather, paper, and balsa wood … Cricut Maker handles it all with effortless precision. No matter what kind of project you want to make, Maker allows you to use any material and cut, perforate, score, engrave, and more in minutes.
You can even cut sewing patterns in just a few clicks.
Currently, Cricut Maker is the only full-size Cricut machine I have … because it does it all!
Make Christmas Tree Treat Boxes with Gifts Inside
- Choose the Birthday Candy Cone project from the Cricut Design Space and customize it as you like … or use the project I created here.
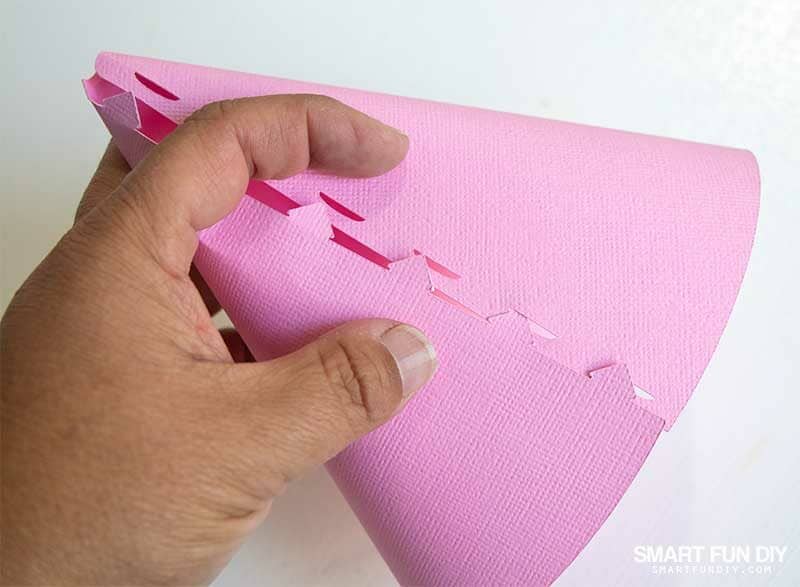
- Cut with Cricut Maker. Follow the directions in Design Space to change blade types. It's incredible how easy it is to use the Maker Tools — you don't even have to think hard!

- Once the pieces are all cut, assemble. Fold the cones first, fill, and then add the bottoms to close.
- Use adhesive dots to add sequins and stars to the trees (or whatever embellishments you like to make them look like Christmas trees).
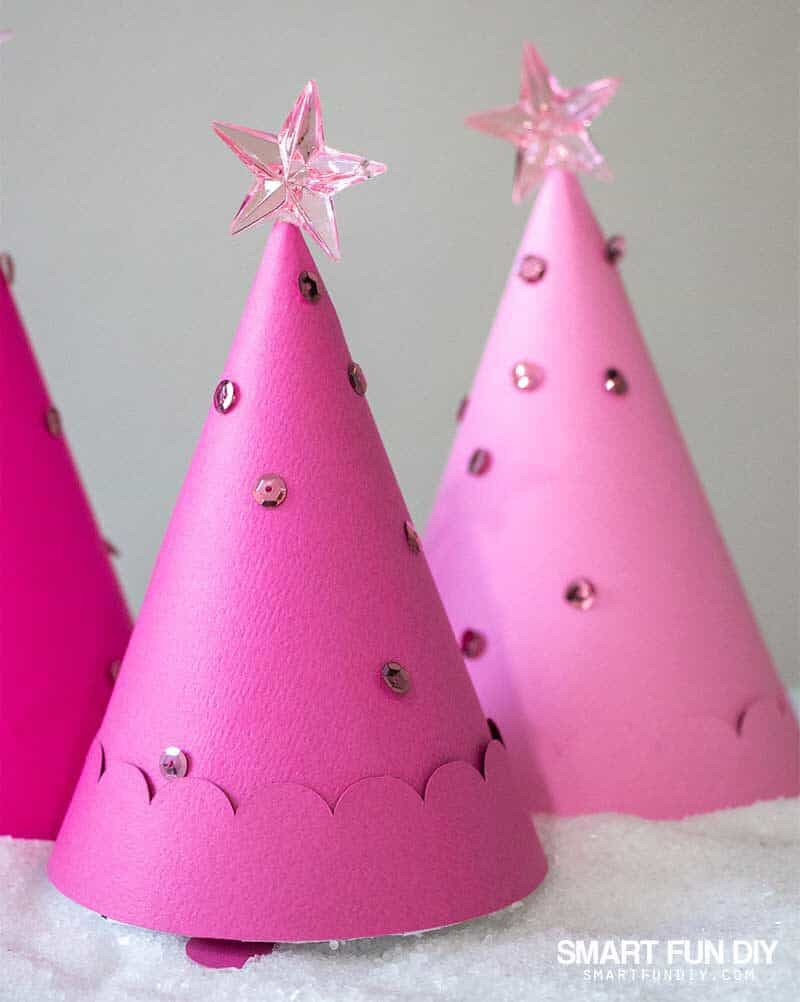
Nestle the trees in a bed of Epsom salt on a platter to create a pretty snowy scene.


These Christmas tree treat boxes would be gorgeous in various colors. I'd love to do a scene of them in rainbow colors one year!
How do you create a unique, personalized holiday gift-giving experience for your family and friends?
Learn More About Cricut Maker Here:
About the Author

Jennifer Priest is a 20+ year designer in the arts & crafts industry and home DIYer with a passion for creativity. An Army veteran raised on a ranch, from her experience, she shares smart DIY projects that save money and fun craft ideas that anyone can make. Besides blogging, Jennifer is a Master Practitioner and Trainer of NLP, Hypnosis, and MER, and coaches other online entrepreneurs on money mindset, business, and living an intentional life. When not blogging, Jennifer is having adventures in the wilderness, on road trips, playing with her cats, and making paleo food.


6 Comments