
This content may include affiliate links, which means if you click on them, I may get a commission. The cool thing is, there’s no extra cost to you!
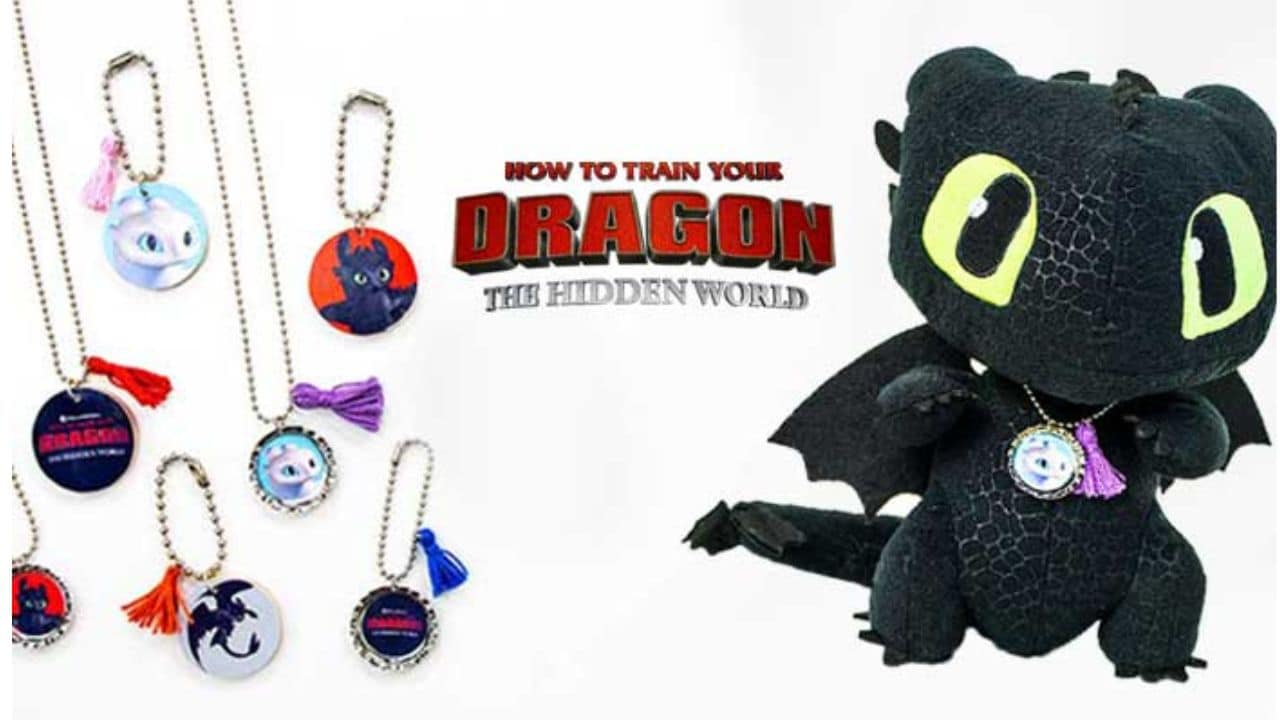
How to Train Your Dragon Craft Project with FREE Printables!
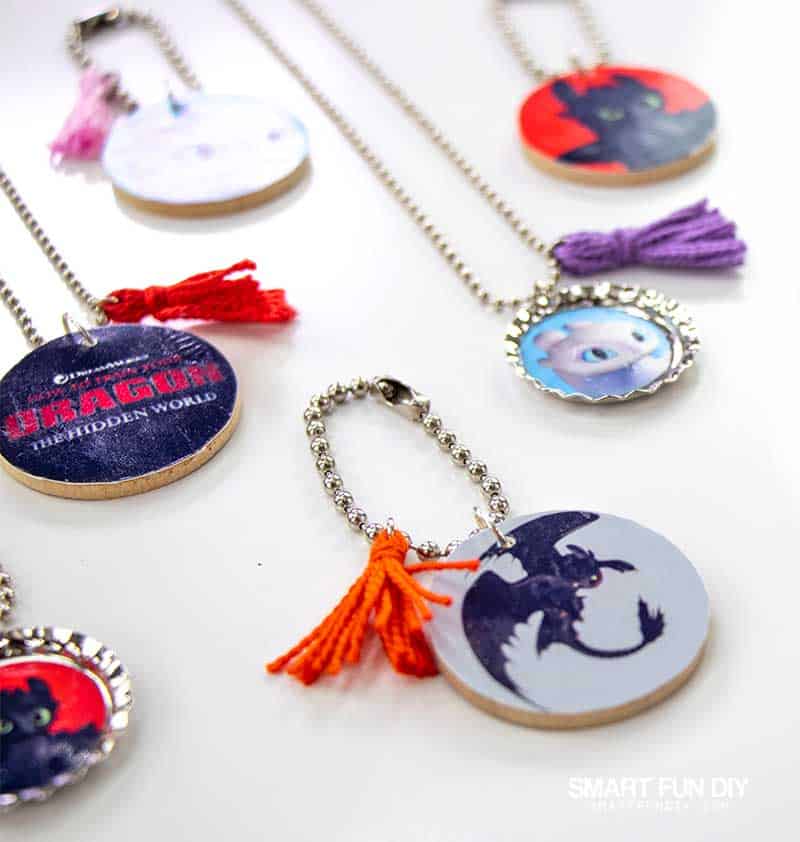
Inside: Make these Toothless and Light Fury DIY necklaces with FREE printables from How to Train Your Dragon: The Hidden World. These fun DIY kids necklaces make great party favors or a fun HTTYD party activity! This post was created in partnership with Universal Pictures. All opinions are 100% my own.
Are your kids excited to the point of hiccups over Toothless and the Vikings? We absolutely love “How to Train Your Dragon: The Hidden World”. Those clever Vikings are mighty crafty, using creativity to solve problems like Toothless' broken tail and Hiccup's leg attachment.
Get inspired by Viking creativity and create these colorful DIY necklaces featuring Toothless and the Light Fury, the newest dragon AND love interest for Toothless! This easy kids' craft is perfect for kids' parties, party favors, or a fun afternoon activity.
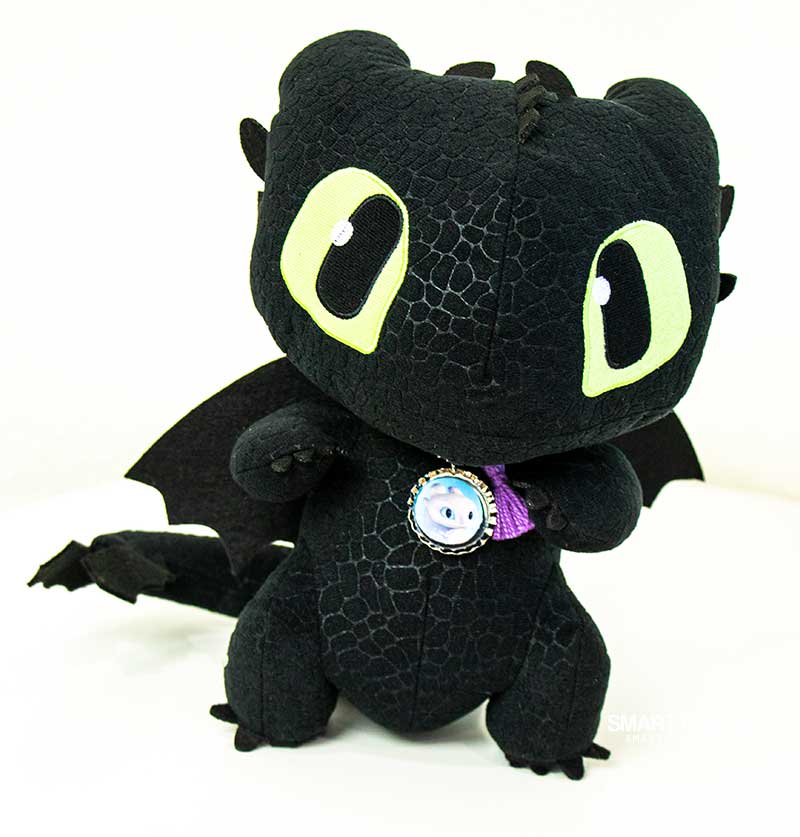
The kids can customize the necklace with their favorite colors and either Toothless or the new Light Fury character from the movie.
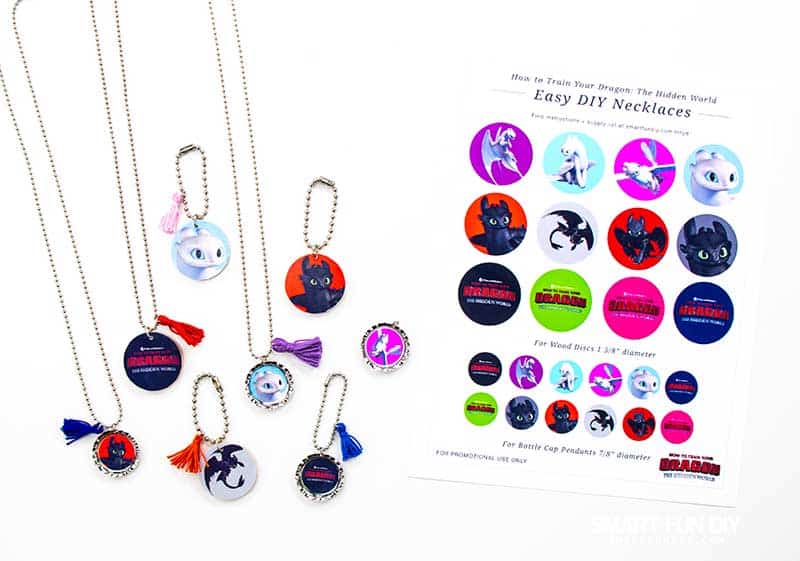
Use these free printables to make:
- Cupcake Toppers – sandwich a toothpick between two of the printed circles to make How to Train Your Dragon party cupcake toppers!
- Stickers – Print on sticker paper and cut out each circle to make stickers
- Memory Game – glue the logo circles on one side of wood discs and the characters on the other side
- Temporary tattoos – print these onto temporary tattoo paper to enjoy as party favors or wear to movie night
- DIY Necklaces – keep reading to see how!
- Keychains or Charms – follow the instructions to make the necklaces but use a shorter length of ball chain to make a charm or keychain
Now, let's get some inspiration and find out what to expect in How to Train Your Dragon: The Hidden World:
Our family is obsessed with the How To Train Your Dragon movies. The rich, complex characters remind us of real people and relationships in our own lives. If I'm 100% honest, Toothless reminds me of my cat!

The bonds of family and friendship throughout the entire How To Train Your Dragon movie franchise are heartwarming, teaching our kids valuable lessons about relationships, perseverance, problem solving, and courage.
As a family that crafts together, we know how important nurturing these bonds can be. Like training dragons, crafting requires:
- Ingenuity
- Problem solving
- Creativity
That's why this DIY necklace craft inspired by HTTYD is a great way to celebrate the movie's message, characters, and upcoming release!
Benefits of Jewelry Making with Kids
I started making jewelry in elementary school. At 9 years old, I did my first craft fair, selling handmade earrings created with tiny glass Christmas ornaments. Little did I know, I was learning valuable skills as I sorted beads and created DIY jewelry.
Bead crafts and jewelry crafts provide these learning opportunities to kids:
- counting
- sorting
- differentiating shapes, colors, and textures
- honing fine motor skills
- creating patterns
- feeling of reward after making something with their hands
Recently I started making bead loom projects with my son Matthew. Bead looms allow you to weave and stitch tiny beads called “seed beads” together into a “fabric”. Narrow strips of this beaded “fabric” can be used to make bracelets. Larger pieces of the beaded fabric can be stitched or appliqued onto clothing or accessories. You can change the colors of the beads to make patterns, shapes, or words as you stitch each row.
While the bead loom is a great tool for learning sorting, mathematics, and other special skills, it's not the easiest jewelry making activity to master.
These DIY necklaces inspired by How to Train Your Dragon: The Hidden World are an easy way to get started with jewelry making for both kids and adults. Even if you've never made jewelry before, you can create these necklaces in about 10 minutes!

How to Train Your Dragon Kids Craft: DIY Jewelry
Introduce the kids to jewelry making and celebrate one of their favorite movie franchises with this easy DIY necklace project.
How to Open a Jump Ring
For this jewelry project you need to know one basic jewelry skill: how to open and close a jump ring.
What are Jump Rings?
Jump rings are used to join elements together in jewelry making. In jewelry you already have, you might have noticed a small wire ring that connects a pendant to a necklace. This “connector” is a jump ring.
Jump rings are made using wire, wire cutters or flex shaft machines for cutting, and coiling mandrels or dowels for coiling. Metalsmiths and professional jewelry artists typically make their own jump rings. While this process is fun, it can be time consuming and takes practice to master.
Luckily, for the rest of us who make jewelry as a hobby, we can buy finished jump rings in every color imaginable in our local craft store.
Why Does Opening a Jump Ring the Proper Way Matter?
The day I finally learned how to open jump rings properly changed jewelry making for me forever! Before that, I made a lot of lumpy jewelry up that fell apart …
Opening jump rings is a basic but important skill that ensures your jewelry designs maintain proper function and look professional. When you open the jump ring the wrong way, creating that C shape I mentioned earlier, you damage the jump ring.
Opening a jump ring the wrong way:
- Damages the jump ring, leading to breakage
- Twists the wire against it's natural direction causing unnecessary tension
- Creates kinks in the wire, creating a lumpy finished design
- Makes the jump ring difficult to close completely

Tools For Opening Jump Rings
Professional jewelry makers and chain mail artists use linking rings or smooth jewelry pliers to open jump rings. But you don't have to use these tools … you can use two pairs of flat nose pliers. I avoid using pliers with ridges or grips because they can dent the wire of the jump rings. If you only have pliers with ridges on the inside, you can wrap them with a little masking tape to help minimize their ability to make indentations in the wire.
The pliers will act as your hands when handling tiny jump rings. You can generally use your fingers to twist jump rings and open and closed but the rings are difficult to control. Rings created from hardened wire can hurt your fingers. Avoid discomfort and injury by using pliers or a linking ring to open ring rings.
How to open a jump ring:
- Using two pairs of flat nose pliers, grasp the jump ring on opposite sides.
- Use a “twisting” motion only to open the jump ring until the opening is large enough for your project.
- Do not pull it open. If the wire is in a C shape, you've opened it the wrong direction and will need to start over with a new jump ring.
- Using the same twist motion, in the opposite direction, to close the jump ring once it is in place.
The goal is to keep the jump ring's shape, close it with the tightest gap possible, and maintain its strength.
Now that you know how to open and close jump rings, let's get started on creating this easy DIY necklace craft for kids.
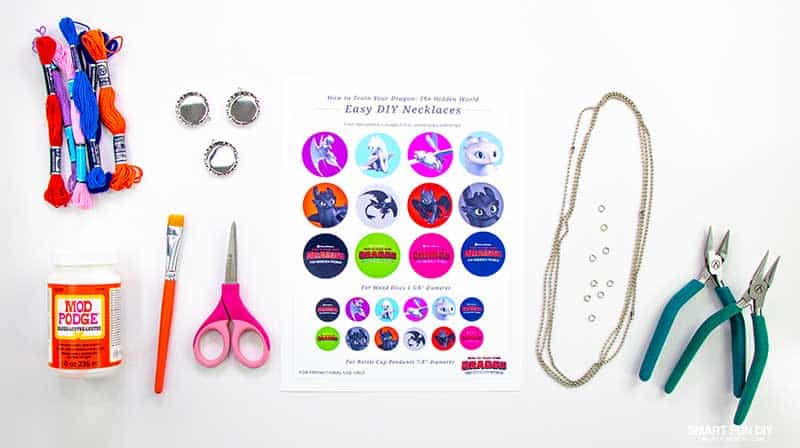
Supplies for How to Train Your Dragon: The Hidden World DIY Necklaces
I created two styles of necklace for this project. Choose the style you like best and that best fits your budget:
Make the bottlecap necklaces with these craft supplies:
- Decoupage medium and small brush
- Bottlecap pendants
- Jump rings
- Jewelry Pliers – 2 pairs
- Scissors or circle punch
- Embroidery floss
- 12″ to 18″ of ball chain with connector for each necklace
- Printer with photo paper
- HTTYD free printable – DOWNLOAD NOW

Gather these supplies for the wood disc necklaces:
- Decoupage medium and small brush
- Wood discs
- Hand drill or motorized drill with 1⁄16” drill bit (if using wood discs)
- Nail file
- Jump rings
- Jewelry Pliers – 2 pairs
- Scissors or circle punch
- Embroidery floss
- 12″ to 18″ of ball chain with connector for each necklace
- Printer with photo paper
- HTTYD free printable – DOWNLOAD NOW
Once you've gathered the supplies, follow the directions below to:
- Create the tassels
- Make the pendants
- Assemble the necklaces
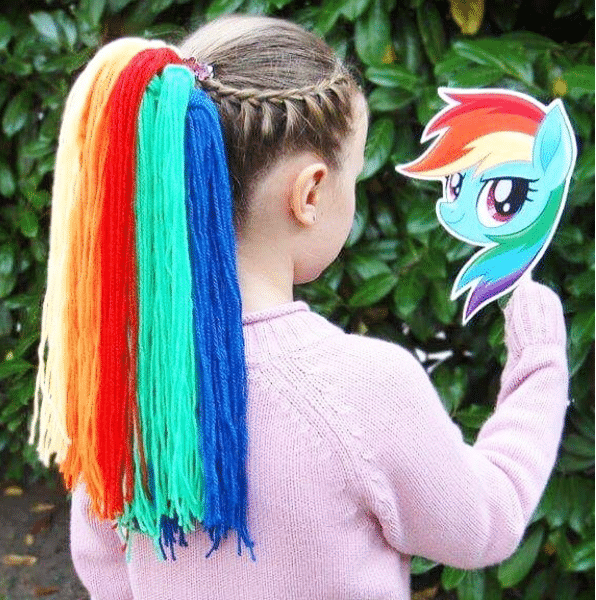
Make An Easy Tassel with Embroidery Floss
Add extra color to these necklaces with tiny DIY tassels. Create these tassels using affordable and easy to find embroidery floss.
- Wrap embroidery floss around two of your fingers about 10 times.
- Carefully remove the loops from your fingers, keeping them all together.
- Pinch one side of the loops together with one hand.
- Wrap another piece of floss around the loops, tight against your punched fingers.
- Tie the end of the second piece of floss off.
- Use jewelry pliers to grip a jump ring on either side of the split. Gently twist the jump ring to the side to open it. It should look like one section cut from a spiral. If it looks like the letter C, then you've opened it the wrong way and will need to use a new one.
- Thread the jump ring through the small loops at the top of the tassel.
- Use scissors to trim the loops at the bottom of the tassel open to form a fringe.

Make tassels in your favorite colors to compliment your necklace. Here are some variations you can try:
- Use multiple colors to make a multi-color tassel
- Make thicker tassels by using more floss
- Try using metallic floss, jute twine, or variegated floss for a different style of tassel
- Wrap the tassel in a different color than the fringe
One you've created the tassels, you can add them to your necklaces.
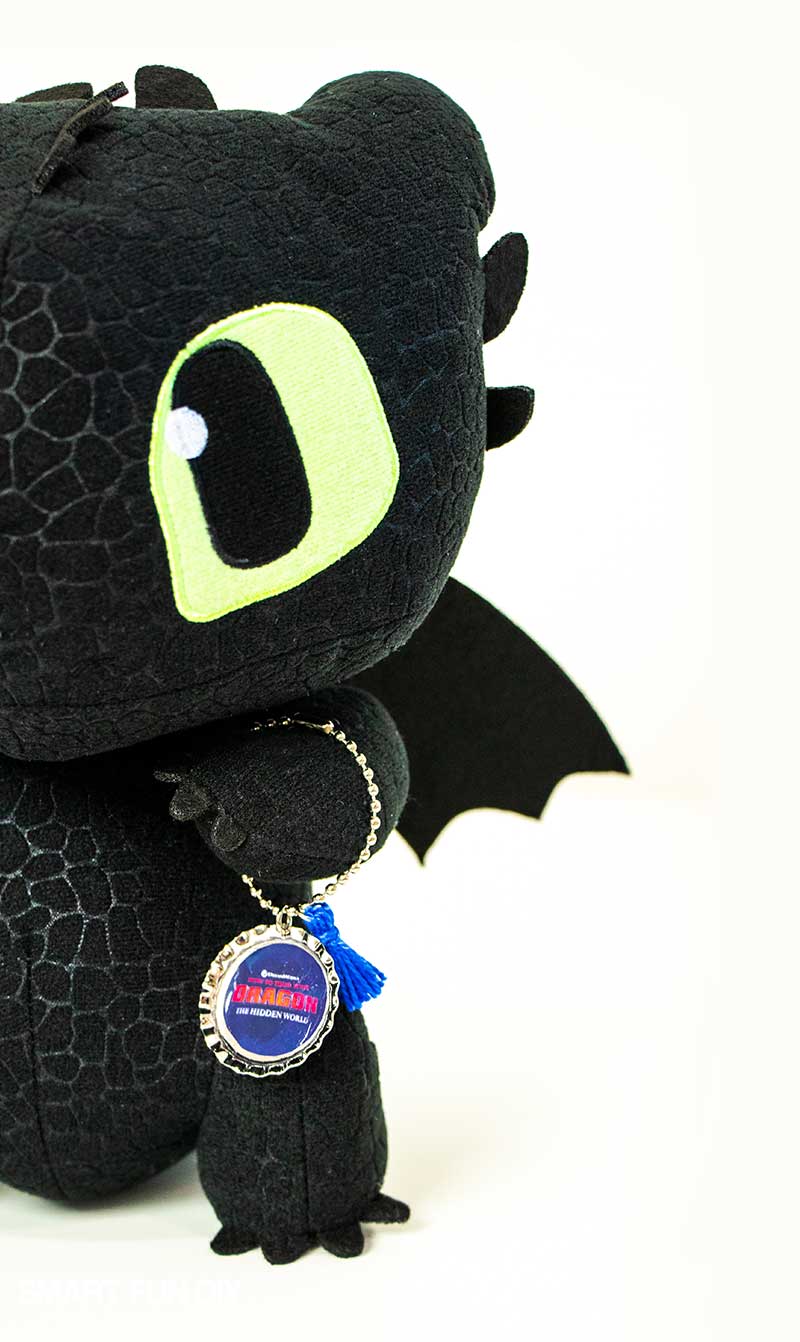
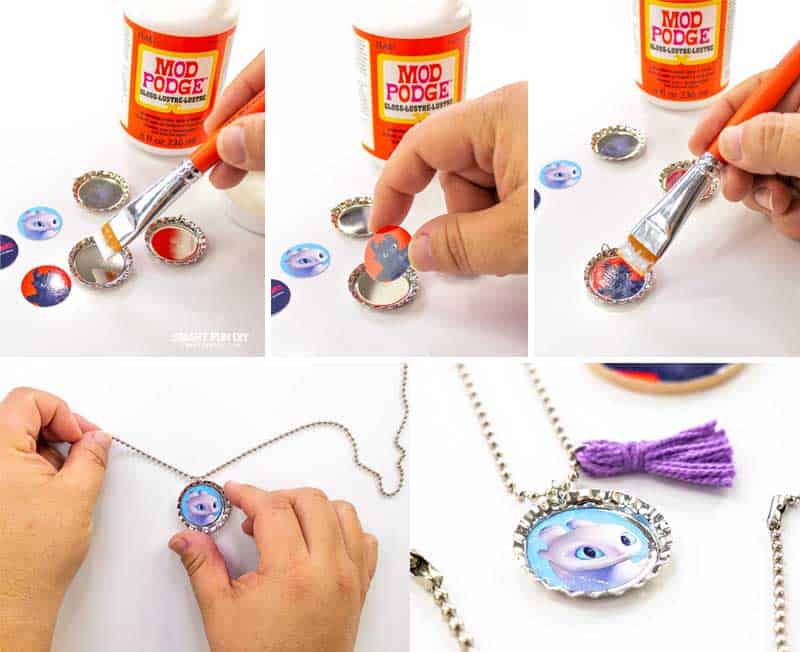
DIY Quick Bottlecap Necklaces
Pick up bottlecap pendants in the bead section of your local craft store. Pre-made pendants or bezels make jewelry making super quick and easy.
- Print the How to Train Your Dragon: The Hidden World free printable. For brighter colors, use photo paper.
- Cut out the small circles, or use a paper punch to punch them out.
- Apply decoupage medium to the back of one of the paper circles.
- Place the paper circle in the center of a bottlecap pendant. Optionally, you can add more decoupage medium or a glossy sealant to the top of the paper circle to seal it. Allow to dry thoroughly.
- Thread the ball chain through the jump ring.
- Use jewelry pliers to grip a jump ring on either side of the split. Gently twist the jump ring to the side to open it. It should look like one section cut from a spiral. If it looks like the letter C, then you've opened it the wrong way and will need to use a new one.
- Attach the tassel to the ball chain using a jump ring.
- Use the two pliers to close the jump ring around the ball chain.
How to Make DIY Necklaces with Wood Discs
If you are making a lot of necklaces for a class party or summer camp, choose affordable wood crafts discs to make the pendants instead of the pricier bottlecap pendants. You can also follow this same process to make pendants from real bottlecaps you've collected.
. For brighter colors, use photo paper.

Party Favor Idea: DIY Jewelry Bar
For a mess-free How to Train Your Dragon party activity, create the tassels and bottle cap pendants ahead of time.
Set up a jewelry making bar with the ball chain necklaces, tassels with jump rings, and finished pendants in cups or on plates. The kids can create their How to Train Your Dragon necklaces assembly line style using the supplies from the jewelry bar.

Using the Cricut to cut free printables
Save time by using a Cricut or other electronic cutting machine to print and cut the printables for this project.
Follow these steps for using this printable set with the Cricut Design Space:
Sign up here to get the link to this project in the Cricut Design Space.
The beauty of using an electronic cutter is you can resize the printable to whatever size you need for your project!
Next Steps …
Before you go, be sure to grab this page of free printables with official How to Train Your Dragon: The Hidden World character art.
Have you seen How to Train Your Dragon: The Hidden World? We've got hiccups, we're so excited!
P.S. If you liked this post, would you share it on Facebook or Pinterest? Thank you!

About the Author

Jennifer Priest is a 20+ year designer in the arts & crafts industry and home DIYer with a passion for creativity. An Army veteran raised on a ranch, from her experience, she shares smart DIY projects that save money and fun craft ideas that anyone can make. Besides blogging, Jennifer is a Master Practitioner and Trainer of NLP, Hypnosis, and MER, and coaches other online entrepreneurs on money mindset, business, and living an intentional life. When not blogging, Jennifer is having adventures in the wilderness, on road trips, playing with her cats, and making paleo food.


I am trying to find the link for the freepage of free printables with official How to Train Your Dragon: The Hidden World character art. I have clicked on everything but there is no link. Is there a way you can send it to me please. My granddaughters birthday party is coming up and this would be perfect to do with the kids. Thank you so much, Debbie
Hello, Please check the post again – I added a new form. Sorry for any inconvenience!
So cute and was looking forward to making necklaces for my daughter’s birthday party. I signed up for the email, received the file, but it’s corrupt and I can not print it.
Hello, Please make sure you have the most up to date version of Adobe reader installed.
Hello, my daughter and me love the idea but I could not download the template. I click in all the possible links but nothing happened. I appreciate if you can send me the link or the template. thanks for sharing it. Super nice idea!
I am trying to print the how to train your dragon printable so we can make the bottle cap key chains. The link is not working. Please help.