
This content may include affiliate links, which means if you click on them, I may get a commission. The cool thing is, there’s no extra cost to you!
DIY Crayon Holder – Epi the Echidna from The Wild Life Movie #TheWildLife
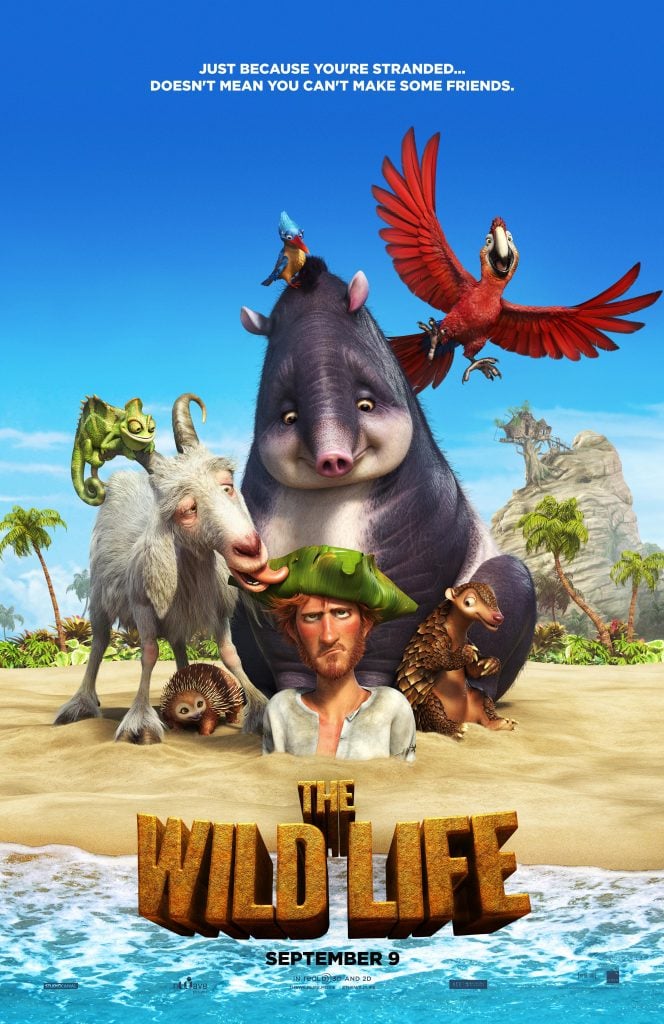
Sponsored post by Lionsgate. All opinions are my own. Have you seen the super cute trailers for The Wild Life? It's an animated adventure about friendship and perseverance between animals and a human, Robinson Crusoe. Matthew is so excited to see The Wild Life in theaters September 9, that we decided to make a fun “Epi the Echidna” DIY crayon holder for his desk. I really love how the movie has unique animals, like a tapir, a kingfisher, and an echidna. Making a project like this DIY crayon holder and watching movies like The Wild Life is a good opportunity to talk to the kids about all the wild life there is in the world and to spend quality time together!

This DIY crayon holder looks like an echidna but is soft to touch, holds 64 crayons, and is perfect for setting up a station to draw or color the fun characters from The Wild Life.

There may be sticky situations in the movie but this DIY crayon holder will keep your desk looking neat and tidy.

Have you seen the movie trailer yet? In addition to Epi, the film features some lively characters including Mak the parrot, Carmello the chameleon, a tapir named Rosie and so many others that your family is bound to love. Watch it now to get into The Wild Life:

How to get wild with The Wild Life inspired crafts, like this DIY crayon holder!
We thought Epi the Echidna was adorable and that's how this idea for an echidna DIY crayon holder was born. This is a project that needs parent involvement due to hot tools being used but there are definitely parts where the kids can get their fingers painty and feel like part of the action.

Here's what you'll need to make this project:
Supplies:
- 8″ Smoothfoam™ half ball
- brown craft paint
- brown spray paint (use by ages 18+ only please)
- 9″ x 12″ sheet of dark brown felt
- 9″ x 12″ sheet of tan felt
- 9″ x 12″ sheet of light brown felt
- 2 stuffed animal “eyes”
- 1 stuffed animal “nose”
- tacky glue
- box of 64 crayons
- permanent marker
- fabric marker
- black puffy paint
Tools:
- scissors
- foam paint brush
- hot tool (use by ages 18+ only please)
- stick pins
- measuring tape
Patterns:
Please note, I want to make sure you have success in making this project at home. It is very important to get a Smoothfoam™ ball (they have them at all major craft stores) versus a floral foam or other foam ball because other foam materials will not be able to hold the felt, glue, and paint we'll need to use to make this DIY crayon holder come alive as Epi the Echidna. The dense foam of the Smoothfoam™ ball will be able to hold the crayons while other materials will crumble over time.

How to make a DIY Crayon Holder:
Create this DIY crayon holder in one afternoon together with your child. Gather the supplies listed above and let's get started!

Watch this video to see how to make this project from start to finish.
Paint the foam ball with brown acrylic paint using a foam paint brush. You might need to paint on several coats to fully cover the surface of the foam. Be sure to allow the paint to dry completely before applying the next coat of paint.
Print and cut out the patterns for Epi's nose and eyes (download from the supply list above). Fold the dark brown felt in half and pin the nose pattern to it, lining up the dotted line on the pattern with the fold. Cut out. Repeat to yield 2 felt pieces. The repeat with the light brown felt to yield one piece.
Fold the tan felt in half. Pin the pattern for Epi's eyes to the tan felt, lining up the dotted line on the pattern with the fold. Cut out to yield one piece. Set aside.
Layer the two dark brown nose pieces together, lining up the sides. Run a bead of tacky glue along one curved edge and press the pieces of felt together. On the other side of the dark brown nose piece, lineup the light brown felt with the curved edge. Run a bead of tacky glue along the curved edge and press the dark brown and light brown pieces of felt together. The two loose ends of felt should stick up and meet in the middle, forming a triangle. Match up the two curved edges, add a bead of glue, and press together. Allow to dry.
Once dry, fold the nose inside out so that the seams are on the inside. Thread the stuffed animal “nose” through the tip of the nose and press the circle backing into place firmly.
Fit the nose onto the Smoothfoam ball “body”. Trim if needed. Glue into place with tacky glue.

Glue on the tan felt eye piece. Cut the backs from the two stuff animal “eyes”. Glue to the tan felt eye piece.
Place a measuring tape at the center of the echidna forehead and measure down the back. use a permanent marker to make a mark every one inch, about seven marks. Move the measuring tape to the right about one inch and repeat, now starting at the 1/2″ mark and marking every one inch. Continue moving the measuring tape to the right or left of the previous line until 64 holes have been marked.
Use the stamping point of a wood burning tool to make holes where the marks are. While the wood burning tool is cool and not plugged in, make sure the tool tip is slightly larger than the diameter of the crayon (they usually are). Plug in the tool to let it get warm. Press the tool onto the mark, taking care not to press too hard – the goal is to melt through the foam enough to allow the crayon to sit inside but not all the way through to the hollow inside of the Smoothfoam half ball. Only someone over the age of 18 should operate heat tools for this project. When finished burning the holes, unplug the heat tool and allow it to cool in a safe place.
You can stop the project here or you can take it one step further with spray paint! Where the holes were burned, the white core of the Smoothfoam ball is visible. Mask off the felt face of the echidna. In a well- ventilated area, spray paint the holes and surface of the ball evenly. Take care to not over-paint the ball. Spray paint can sometimes melt foam if used in excess. We've already coated the ball in acrylic paint and are using only a little bit of spray paint so the ball should hold up just fine. There will be a bit of texturizing that happens on the surface of the ball but I think it lends to the realistic look of the echidna!

Once the spray paint is dry, cut slivers of tan felt from the scraps leftover from cutting the eye piece. Glue these “spines” to the forehead of the echidna DY crayon holder to finish the look. Use the photo of Epi the Echidna above as a reference for where to place the felt strips.
Outline the eyes with a fabric marker to look like Epi's eyes – this will be a guide for adding fabric paint in the next step. Draw over the marker lines with black puffy paint and allow to dry for 24 hours.
Add crayons in each hole in the echidna DIY crayon holder “back” and enjoy!

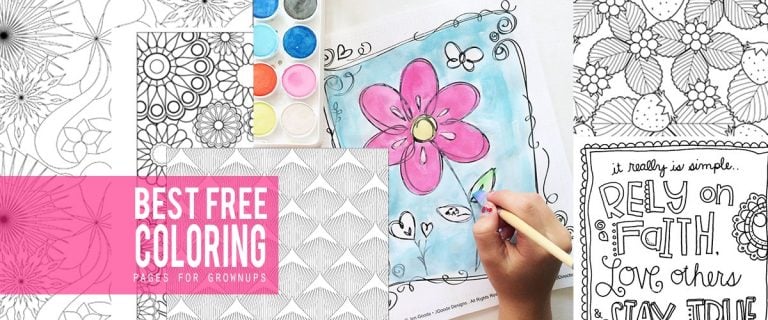
Once you finish making the crayon holder, download a set of FREE coloring pages featuring the movie's characters from The Wild Life Movie official website to color.

The kids can color the coloring pages while choosing crayons from this Epi the Echidna DIY crayon holder!
Things are about to get WILD this September 9. Be sure to save the date and see The Wild Life in theaters with your family. Follow along on the official websites:
- Visit the Official Site
- Like ‘The Wild Life’ on Facebook
- Follow on Twitter and Instagram
Who are you planning on going to see The Wild Life with? Let me know in the comments – I'm taking Matthew for sure!!

![Color on the wild side with this DIY crayon holder inspired by The Wild Life in theaters Sept 9. Are your kids super excited to see this movie? My son is!! We love the variety of characters in the movie, like Epi the echidna. We created this DIY crayon holder kids craft for coloring books, inspired by her character in the film. Get the how-to for this project and learn more about The Wild Life movie here: http://justjp.co/TheWildLifeMovie #TheWildLife [AD]](https://www.smartfundiy.com/wp-content/uploads/2016/08/The-Wild-Life-Epi-Echidna-DIY-Crayon-Holder-Crafts-jenniferppriest.jpg)
![Color on the wild side with this DIY crayon holder inspired by The Wild Life in theaters Sept 9. Are your kids super excited to see this movie? My son is!! We love the variety of characters in the movie, like Epi the echidna. We created this DIY crayon holder kids craft for coloring books, inspired by her character in the film. Get the how-to for this project and learn more about The Wild Life movie here: http://justjp.co/TheWildLifeMovie #TheWildLife [AD]](https://www.smartfundiy.com/wp-content/uploads/2016/08/The-Wild-Life-Epi-Echidna-DIY-Crayon-Holder-Kids-Craft-jenniferppriest.jpg)
About the Author

Jennifer Priest is a 20+ year designer in the arts & crafts industry and home DIYer with a passion for creativity. An Army veteran raised on a ranch, from her experience, she shares smart DIY projects that save money and fun craft ideas that anyone can make. Besides blogging, Jennifer is a Master Practitioner and Trainer of NLP, Hypnosis, and MER, and coaches other online entrepreneurs on money mindset, business, and living an intentional life. When not blogging, Jennifer is having adventures in the wilderness, on road trips, playing with her cats, and making paleo food.


That is so cute!
Oh my goodness this is so cute!
That is so cute!!
This is fantastic! So creative and cute!
eep this is insanely cute!
That is super cute! I love the face – it looks so real!!
That is so cute !
Oh my goodness! This might be the most fun crayon holder I’ve ever seen!
This is so super cute!