

This content may include affiliate links, which means if you click on them, I may get a commission. The cool thing is, there’s no extra cost to you!
Resist with PanPastels and Stencils – a StencilGirl Hop
I first used PanPastels in a Donna Downey class a few years back and they were so amazingly fun to work with. For this project, I was inspired by some tips from my friend Jamie Dougherty. Being a papercrafter, I too sometimes get a little scared of things that feel too far out of my box but Jamie said, hey, just do a resist technique with some watermark ink. Like, duh!
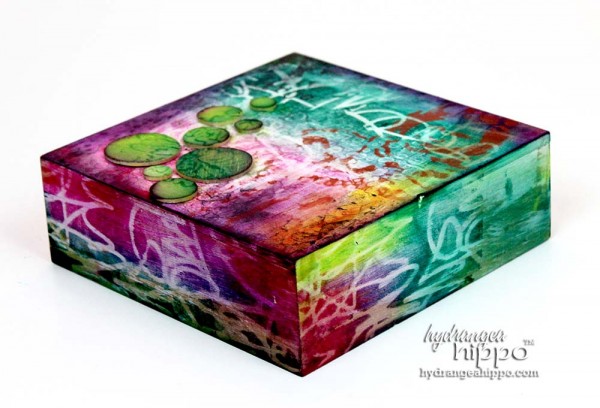
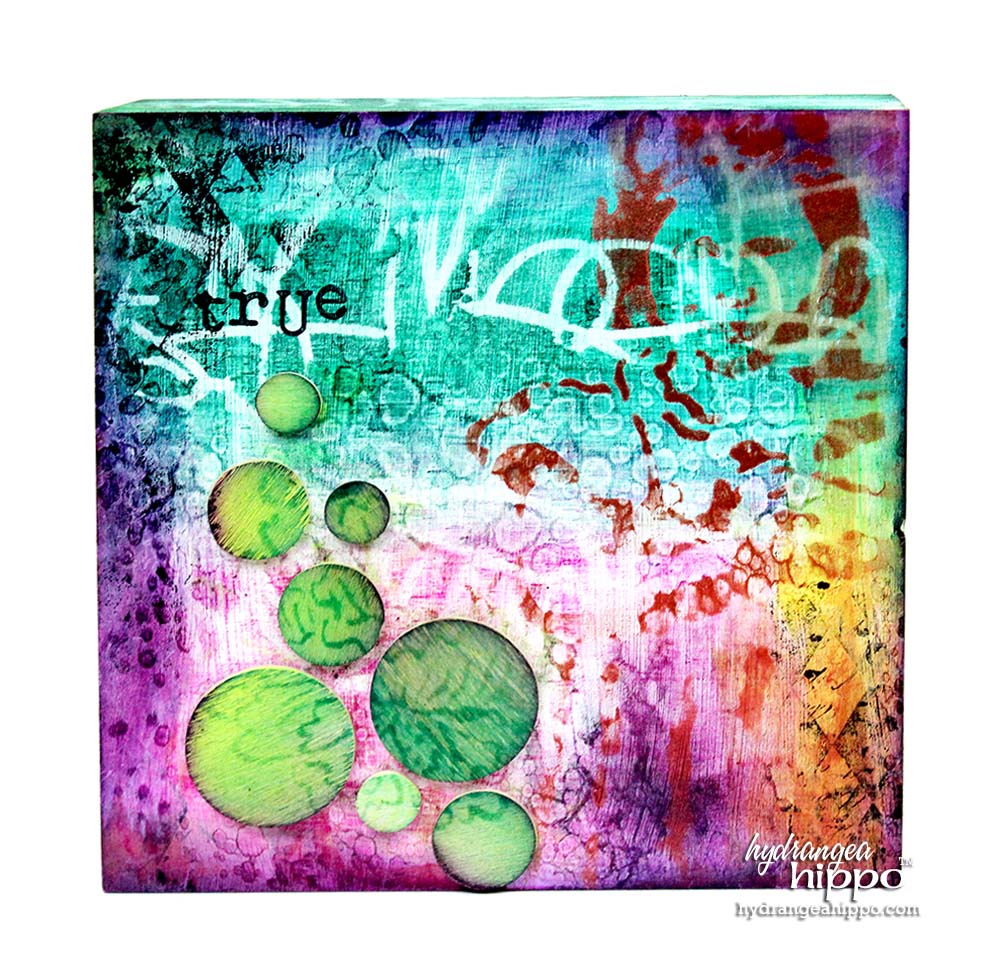
EVERY papercrafter has a watermark inkpad, right? And OMG can I just tell you that I am soooooo pleased with how amazing this resist with PanPastels and stencils technique came out?! The color is intense, the resist is working fab, and I found a new thing to do with my watermark inkpad and stencils!! Check it out:
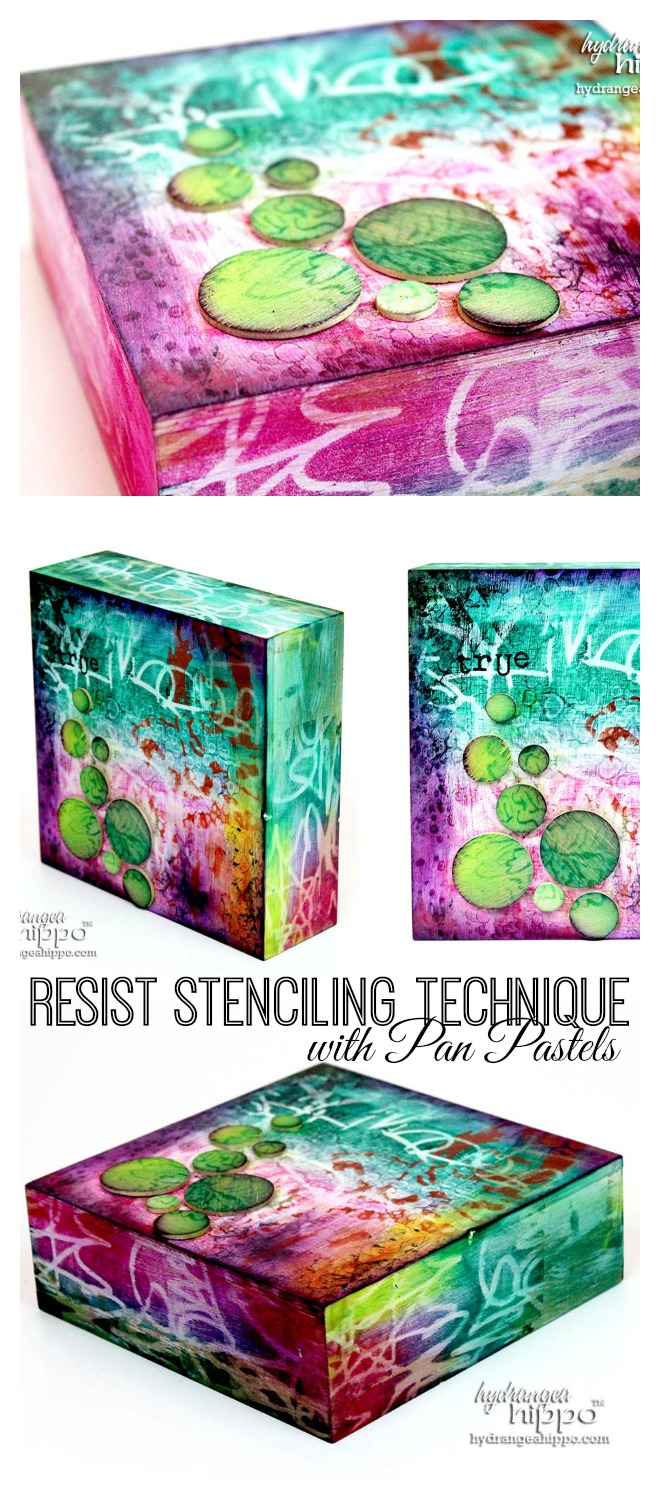
This techique is actually a reverse resist: lay the stencil down, apply the ink, and then apply the PanPastel. The ink grabs onto the pigment while the areas that aren't inked, you know, the part behind the stencil, don't grab onto the pigment as intensely. Everywhere the ink ISN”T at is where the resist happens.
Here's what I used to create this project (FYI some of these links are affiliate links for which I earn a small commission if you make a purchase. A girl can't live on glue alone…well, maybe a girl can live on paste, but paste ain't paleo soooo…)
Supplies:
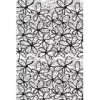
- StencilGirl Precocious Peony
- StencilGirl Scribble Scratch Handwriting Stencil
- StencilGirl Sister Stencil
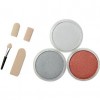
- Sofft Art Sponge Mixed Shapes
- Sofft Art Sponge Angle Slice Flat and Angle Slice Round
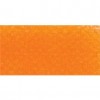
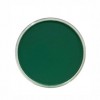
- Pan Pastel Artists' Pastels
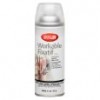
- Workable Fixatif
- 6×6 Wood Canvas
- Wood Discs
- Aleene's
- Typewriter Letter Stamps
- ColorBox Surfacez Multi-Surface solvent ink
- ColorBox Embossing Inkpad
- Hampton Art Harlequin Background Stamp

I am just so thrilled at the intense color I achieved on this canvas!! It looks like I spent hours on it, huh? Shhhh…. don't tell anyone. But this baby only took about 30 minutes to make, including drying time. I KNOW, right?!
Check this out – watch how I made this canvas and how you can make one too, in this handy dandy YouTube video I made:
What kind of embossing inkpad do you have? And what do you plan to make with this technique? Let me know in the comments 🙂

About the Author

Jennifer Priest is a 20+ year designer in the arts & crafts industry and home DIYer with a passion for creativity. An Army veteran raised on a ranch, from her experience, she shares smart DIY projects that save money and fun craft ideas that anyone can make. Besides blogging, Jennifer is a Master Practitioner and Trainer of NLP, Hypnosis, and MER, and coaches other online entrepreneurs on money mindset, business, and living an intentional life. When not blogging, Jennifer is having adventures in the wilderness, on road trips, playing with her cats, and making paleo food.


I really love when i find a technique that shows me how to use materials i already have or are easily obtained. The colors on this are so intense–and it does look like it was much more detailed to do than it actually was. Great tutorial.
I really love when i find a technique that shows me how to use materials i already have or are easily obtained. The colors on this are so intense–and it does look like it was much more detailed to do than it actually was. Great tutorial.