
This content may include affiliate links, which means if you click on them, I may get a commission. The cool thing is, there’s no extra cost to you!
Stamped and Painted Mirror DIY Gift Tag – a Clearsnap + Clear Scraps Hop
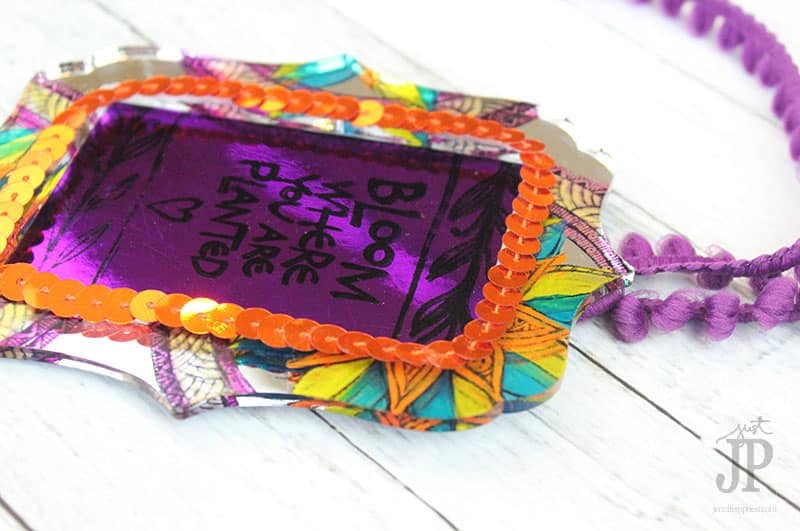
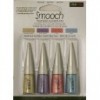
For the next three days the Clearsnap team and the Clear Scraps team are partnering up to share inspiring projects using clear and mirror surfaces from Clear Scraps and ink from Clearsnap. I know, the names are confusing and a few times people have confused the companies for one another. That's why we thought it'd be really cool to team up and share our products together! I received a nice assortment of Clear Scraps product to use with the Clearsnap ink that I was sent since I have worked with Clearsnap for over five years now. A couple years ago Clearsnap introduced their own line of solvent ink, ColorBox Surfacez. This ink will stamp onto almost any non-porous surface, like mirror, plastic, and vinyl, as well as traditional stamping surfaces like paper. It's kind of made for stuff like everything Clear Scraps makes! I decided to show off the non-porous properties of Clearsnap's ColorBox Surfacez as well as Smooch Accent Ink on a stamped and painted mirror DIY gift tag:

This Clear Scraps mirror frame was stamped with a Zenspirations stamp using ColorBox Surfacez ink in Black. The ink dries almost instantly. After the ink was dry, I painted the stamped image with Smooch Accent Ink in various colors, using a heat gun to dry the ink completely. Here's how I created this project:
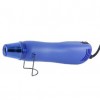
You can really dress up a tag, a mini book, or any other Clears Scraps item in the same way, using ColorBox Surfacez ink and Smooch Accent to add color. In the video, I also used Surfacez Cleaner to get the stamp completely clean after stamping with ColorBox Surfacez ink.

To create this project, you'll need the following supplies, which I have linked here with affiliate links:

I hope you enjoyed today's project. Be sure to use the Rafflecopter widget over on the Clearsnap post to enter to win a prize pack from Clearsnap!
Thanks so much for stopping by today!! Keep up with our adventures, craft ideas, and frugal living tips by subscribing to the Just JP Newsletter.

About the Author

Jennifer Priest is a 20+ year designer in the arts & crafts industry and home DIYer with a passion for creativity. An Army veteran raised on a ranch, from her experience, she shares smart DIY projects that save money and fun craft ideas that anyone can make. Besides blogging, Jennifer is a Master Practitioner and Trainer of NLP, Hypnosis, and MER, and coaches other online entrepreneurs on money mindset, business, and living an intentional life. When not blogging, Jennifer is having adventures in the wilderness, on road trips, playing with her cats, and making paleo food.


Wow! This is gorgeous Jennifer! Thanks for the video! 🙂
Thanks so much!
Agreed! So gorgeous!
Gorgeous, love the jewel tones, and thanks so much for sharing on craft schooling Sunday!
Really is gorgeous! Thanks for sharing with SYC.
hugs,
Jann
Very cool – looks like it was fun to make also! I’m visiting from Wonderful Wednesday blog hop.
Thanks
Angie